Ergodox build log
Welcome!
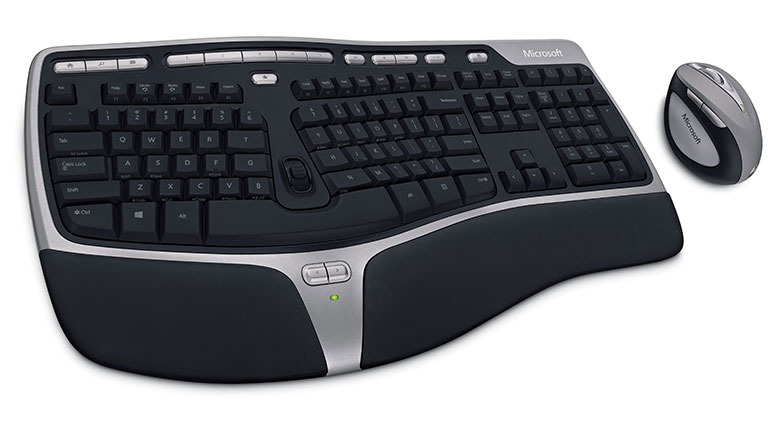
A while ago I decided I wanted to give an ergonomic keyboard a try. Something more ergonomic than the Microsoft Sculpt (🤢) I’ve tried previously.
My search criteria were:
- Split
- Ortholinear
- As many keys as possible
- Budget
I eventually settled on building an Ergodox from scratch, mainly due to the high prices of pre-built options such as the Ergodox-EZ and Moonlander, and kits generally on-par or lacking in features by comparison. It’s probably the most popular DIY ergonomic keyboard out there too, so I felt somewhat assured knowing that this was a tried-and-tested build.
I started the build December 2021, and it’s finally done. Some details of the build follows…
(skip to the conclusion see the final result)
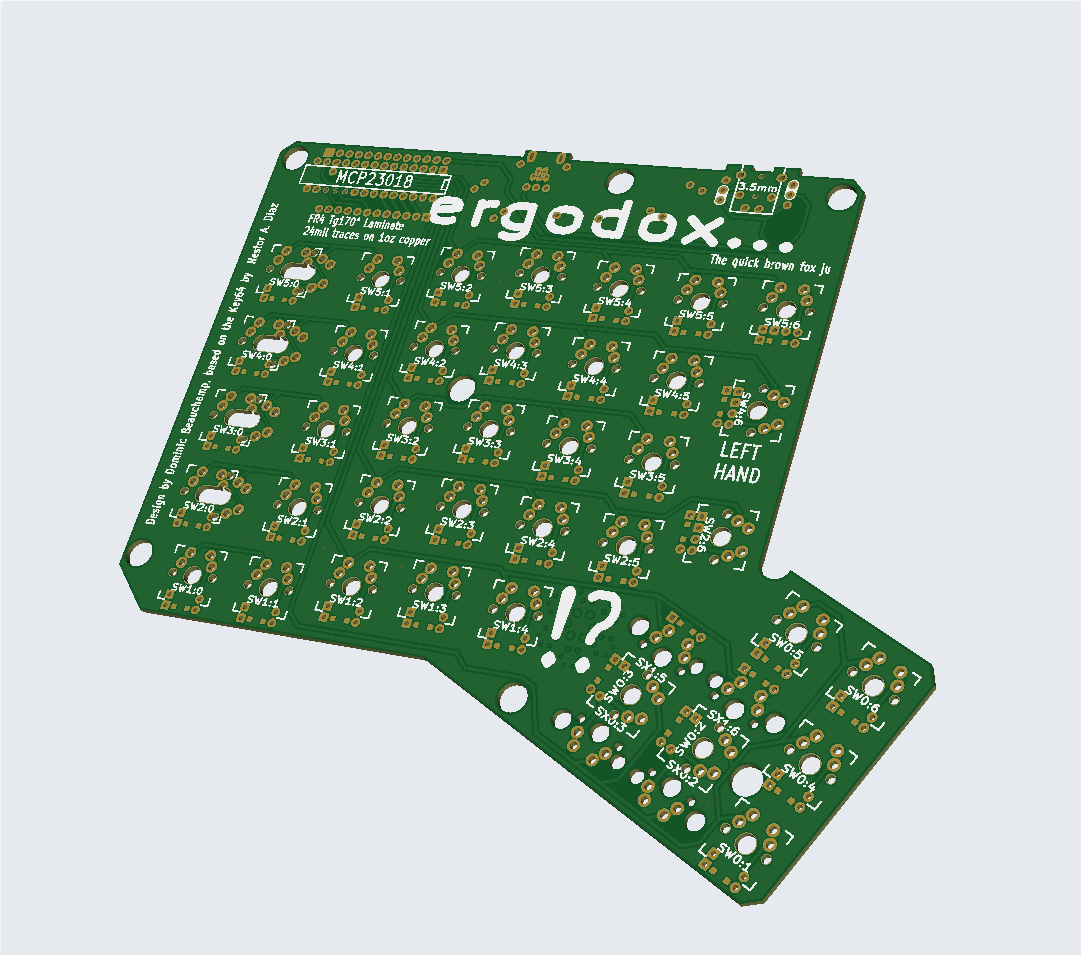
PCB
I used the official Ergodox PCB files, making some slight tweaks to the silkscreen for fun in FreeCAD.
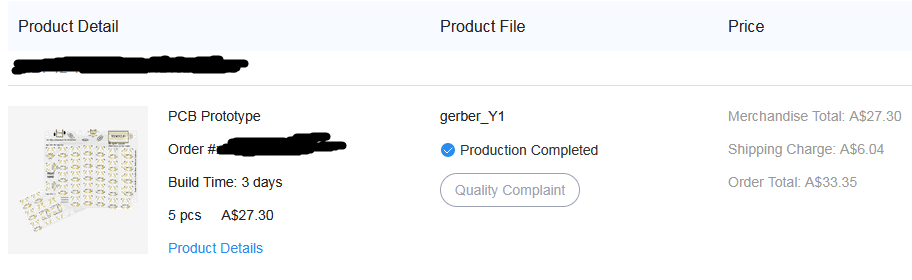
From there, I determined that with their introductory offers, JLCPCB was the cheapest option, so it was just a matter of;
- uploading the Gerber PCB files,
- selecting PCB and silk screen colours,
- and leaving the minutia parameters to their defaults,
Their MOQ is 5 units, but since the Ergodox PCB design is reversible I only ended up with 3 spare boards to one day line my pool room.
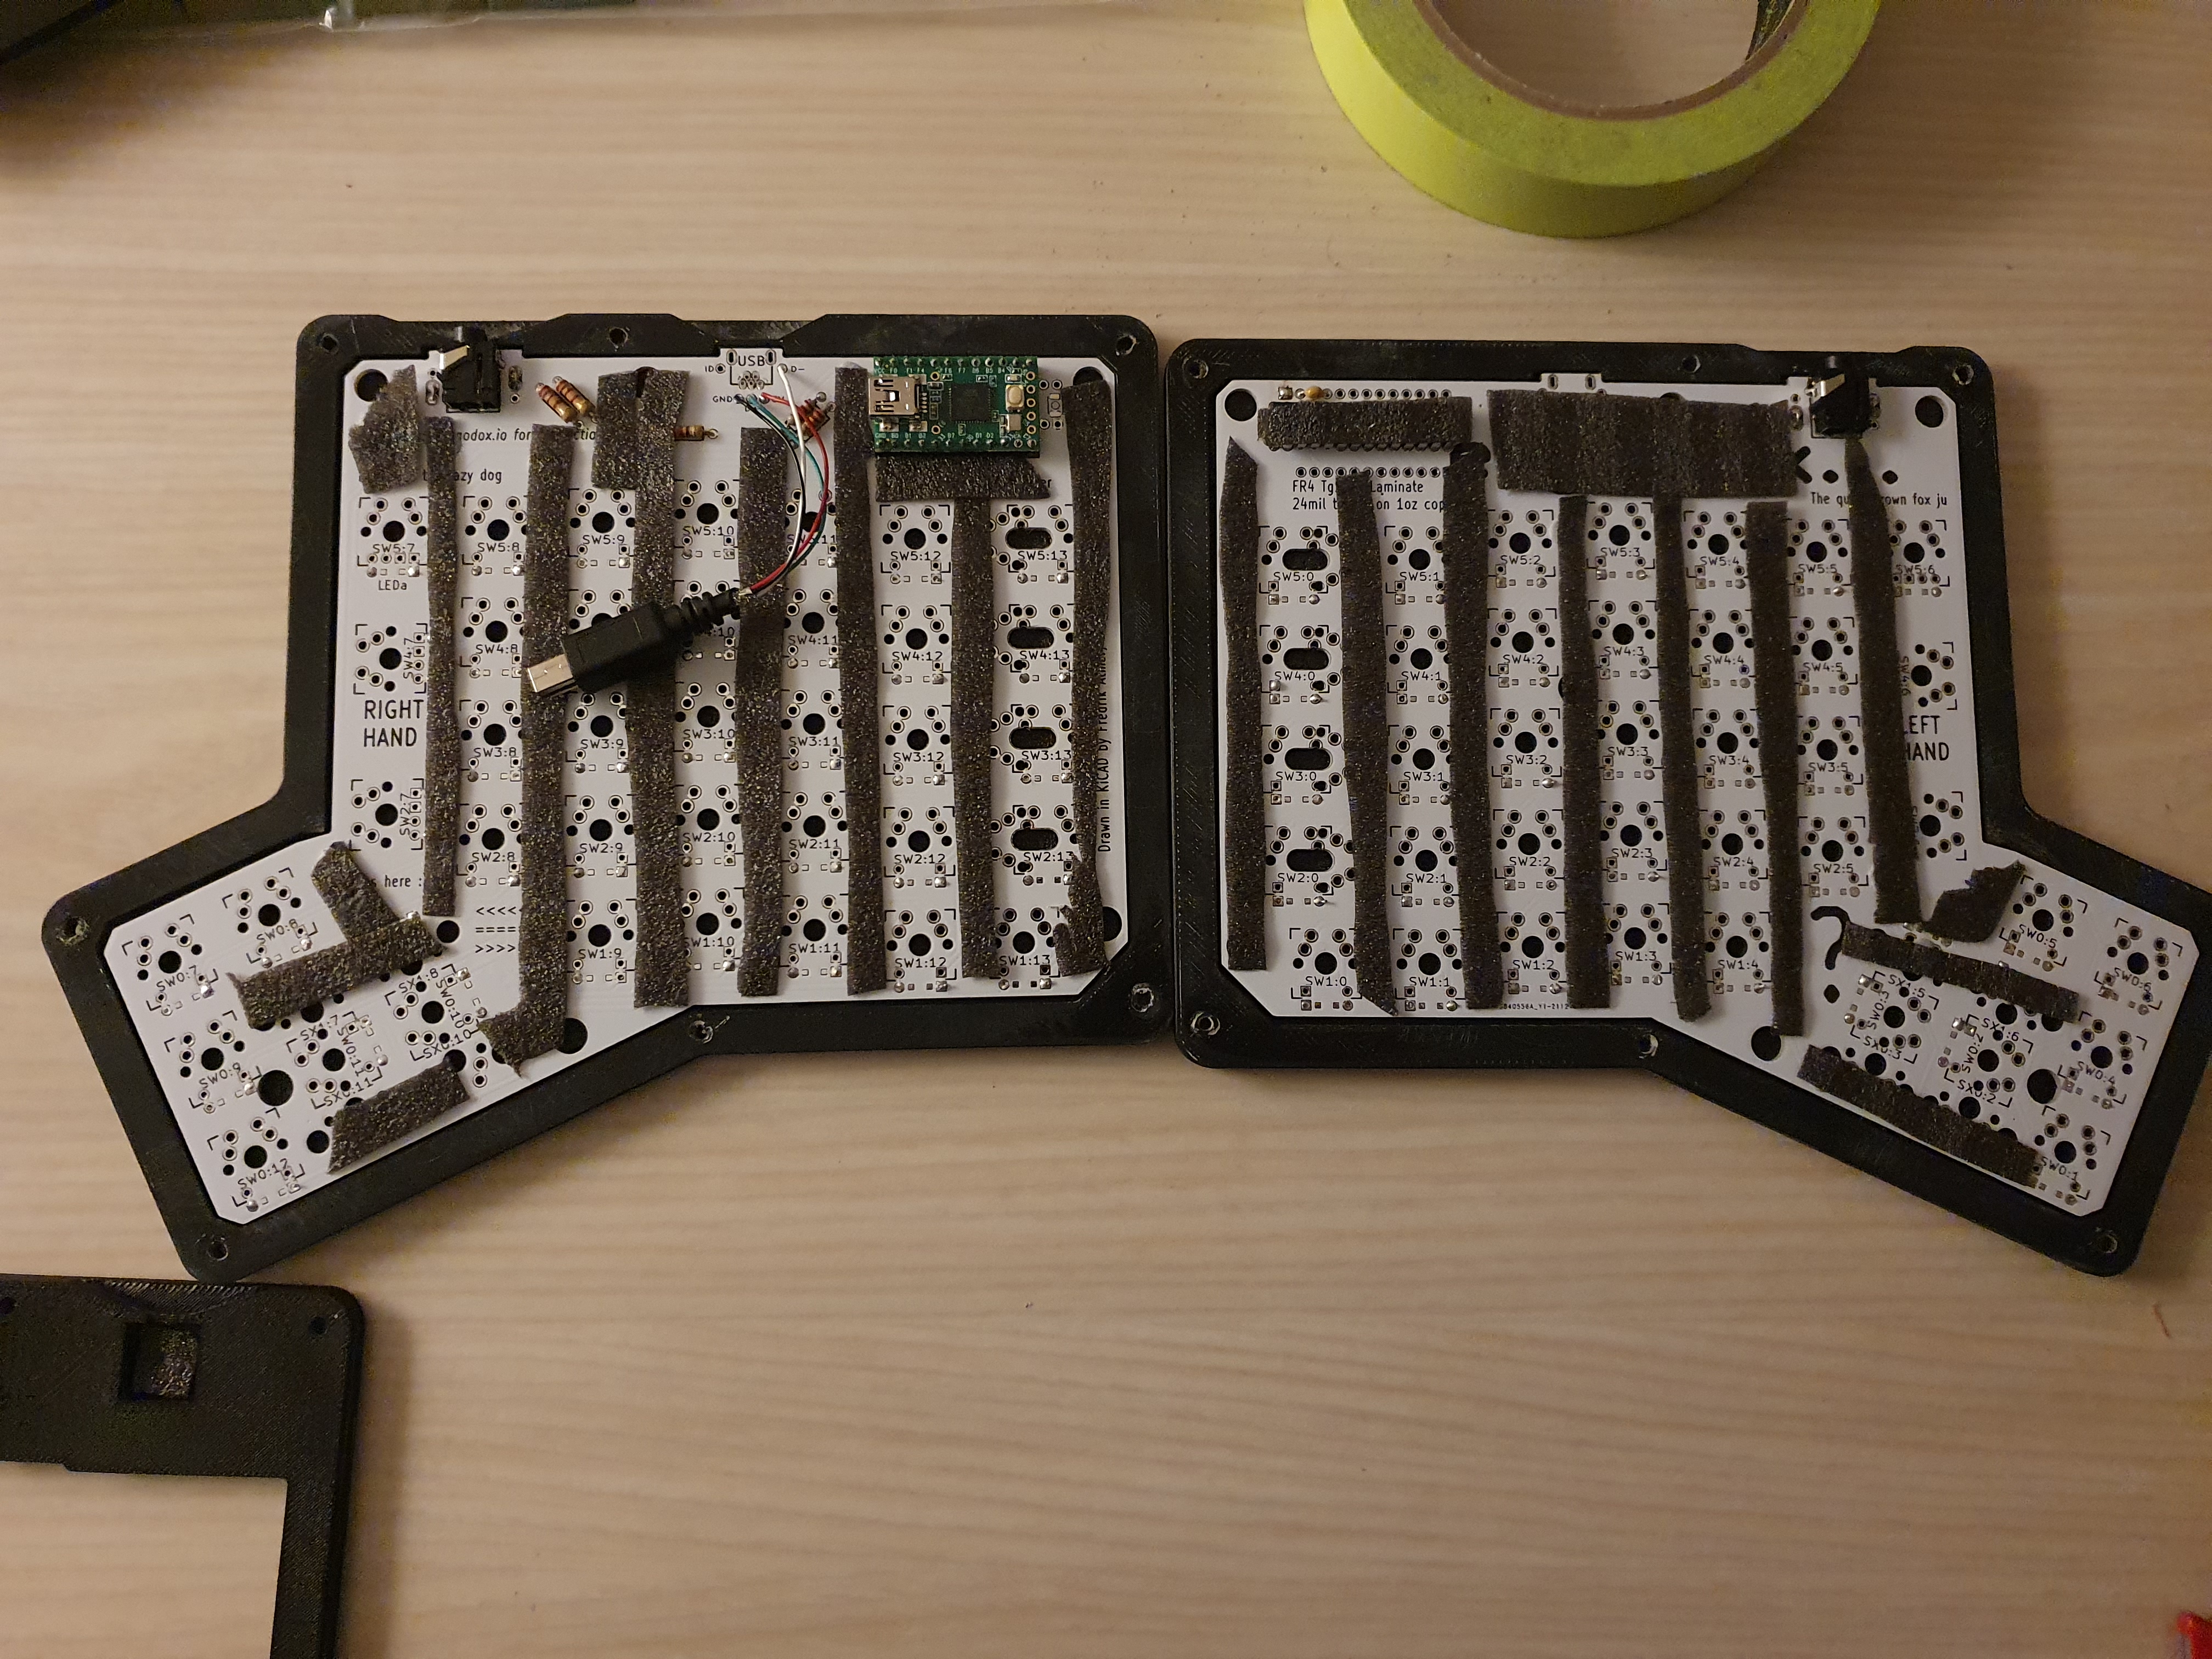
My only gripe design-wise is the external USB Mini-B port. I have no qualms with USB2 bandwidth for a keyboard, and I understand the Teensy inside uses Mini-B, but the connector sucks (maybe only topped by Micro-B) - it’s not reversible and its uncommon, so finding a nice cable that wasn’t destined for use with a Motorola RAZR is challenging.
If it were me it would be Type-C facing outward, but alas I’m no electrical engineer so here we are.
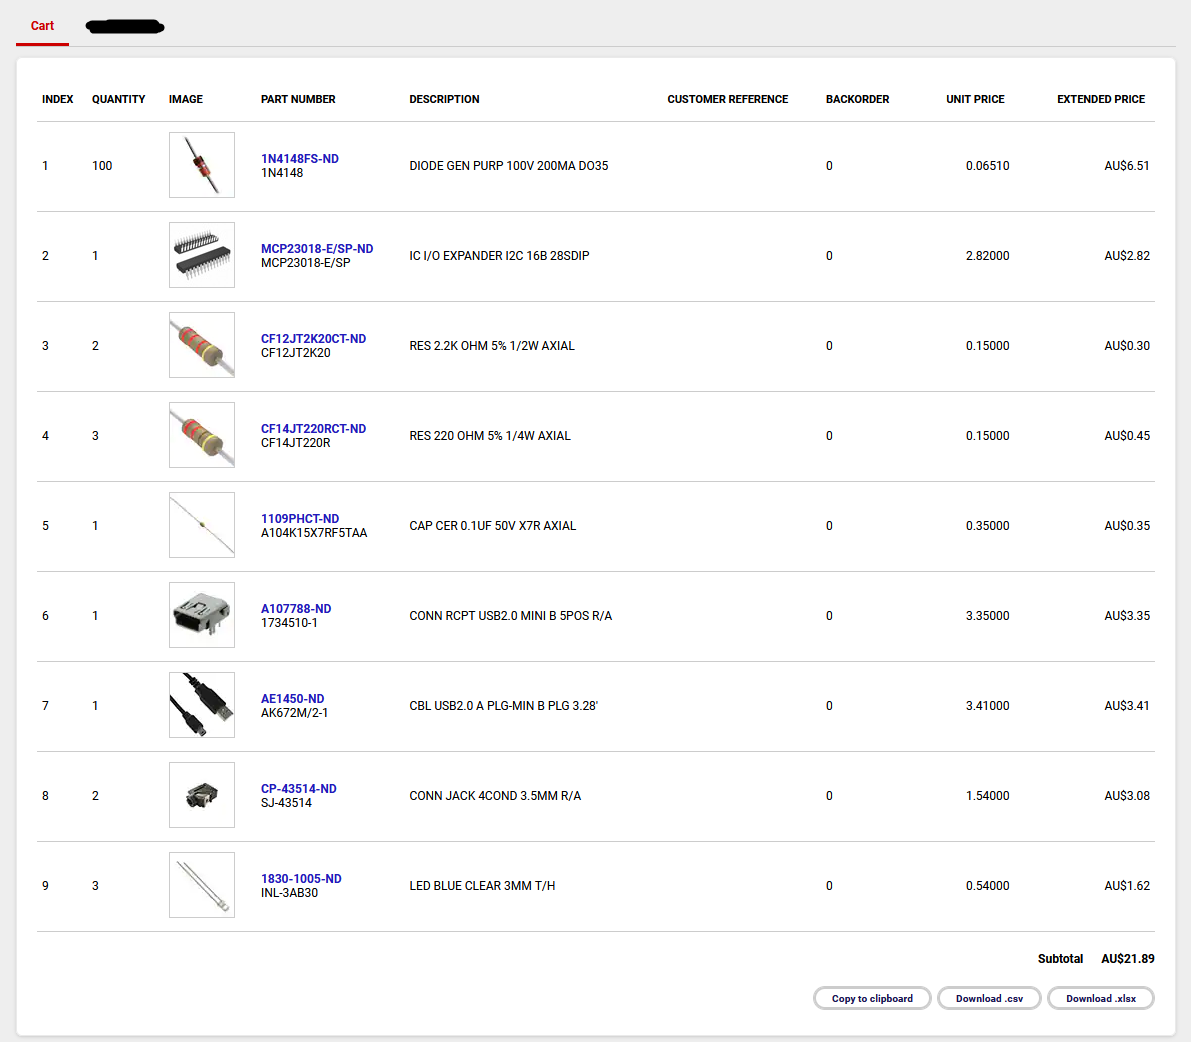
Electronics
Everything I needed to assemble the PCB’s was listed on the official bill of materials. I ordered all of the through-hole components from DigiKey (you can order the same with this link), the Teensy from the manufacturers website, and the 3.5mm and Mini-B cables from Aliexpress.
Switches
Akko “Lavender Purple” (45g, tactile). Very affordable for what they are. The only thing I noticed is some ’temporary’ spring ping they have. It was pretty bad on the first day, however by day 2-3 it went into remission. I didn’t have the same experience with their “Antique White” linear switches.
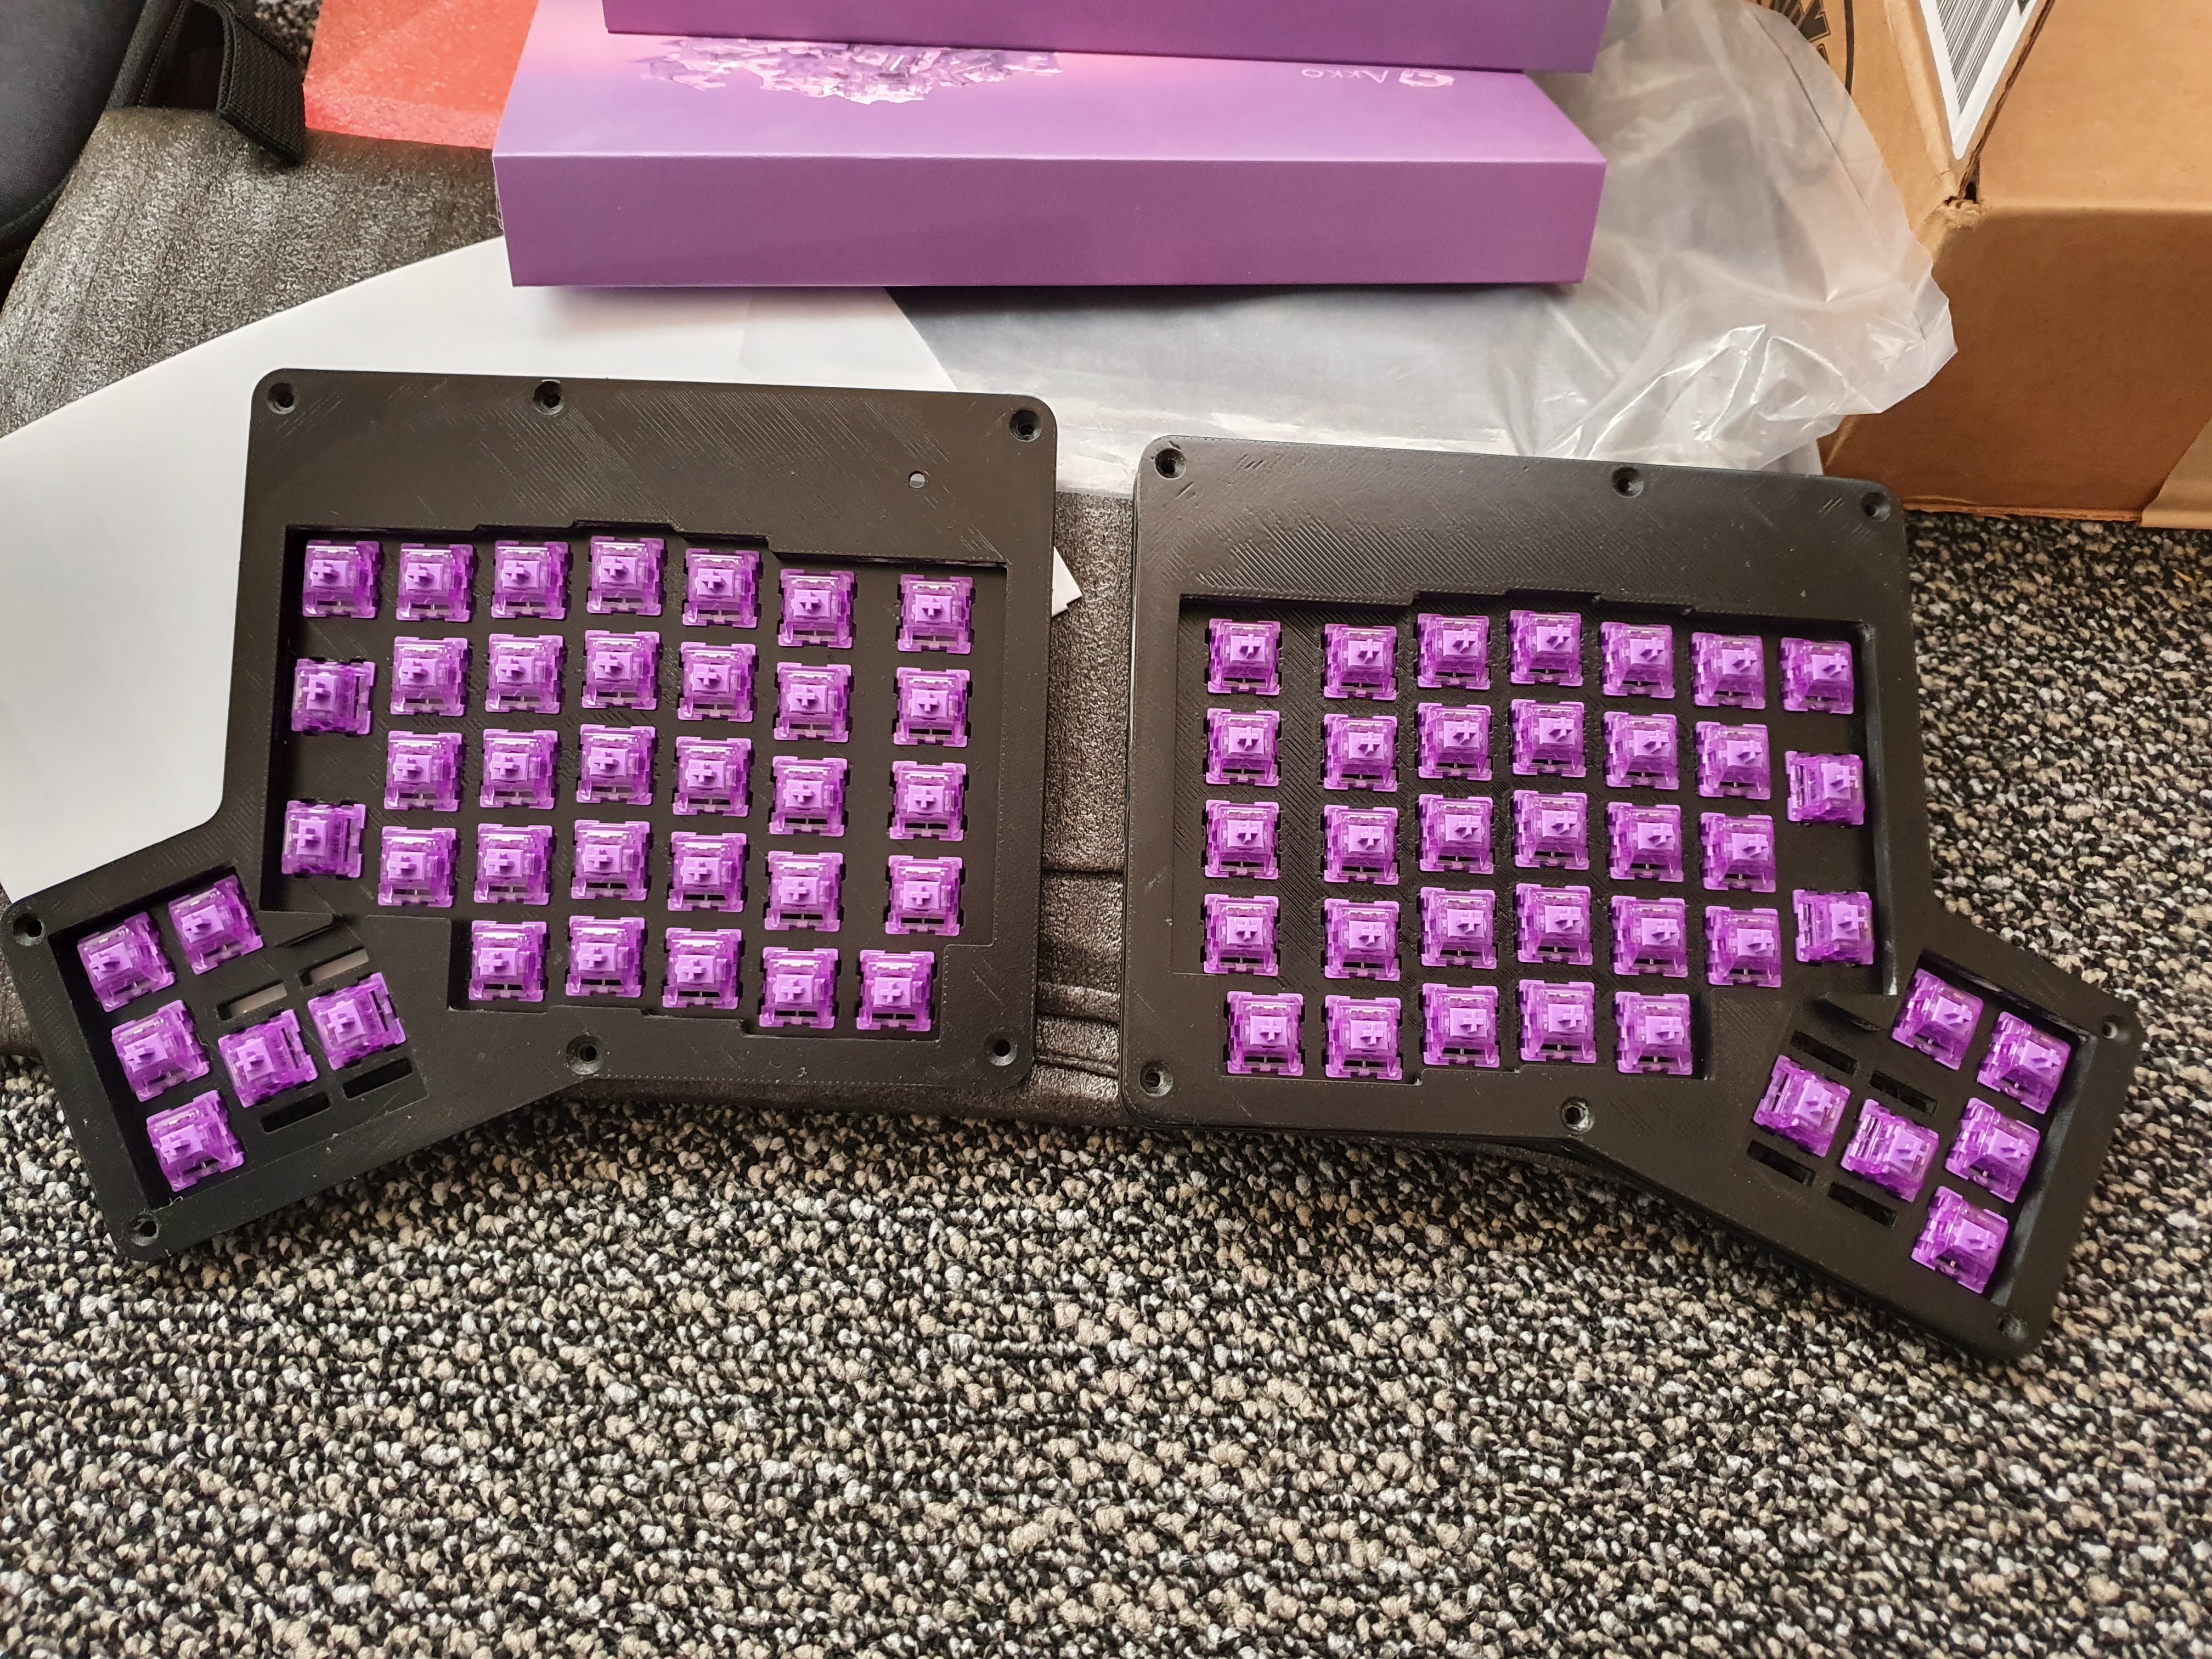
Also, I originally planned on using some Durock stabilisers for the 2U thumb-cluster keys, but the slots in the case plate were not wide enough to support them. They feel fine without stabilizers.
Keycaps
Printed keycaps are actually quite challenging to find for the Ergodox due the unusually large number of 2U and 1.5U required, which should ideally be blank, while printed alphanumeric keys are desirable.
I found some YDMK PBT, dye-sublimated, ZDA-profile keycaps from Aliexpress. I use another set from YDMK for my GMMK Pro, I think they are really great value compared to popular GMK sets.
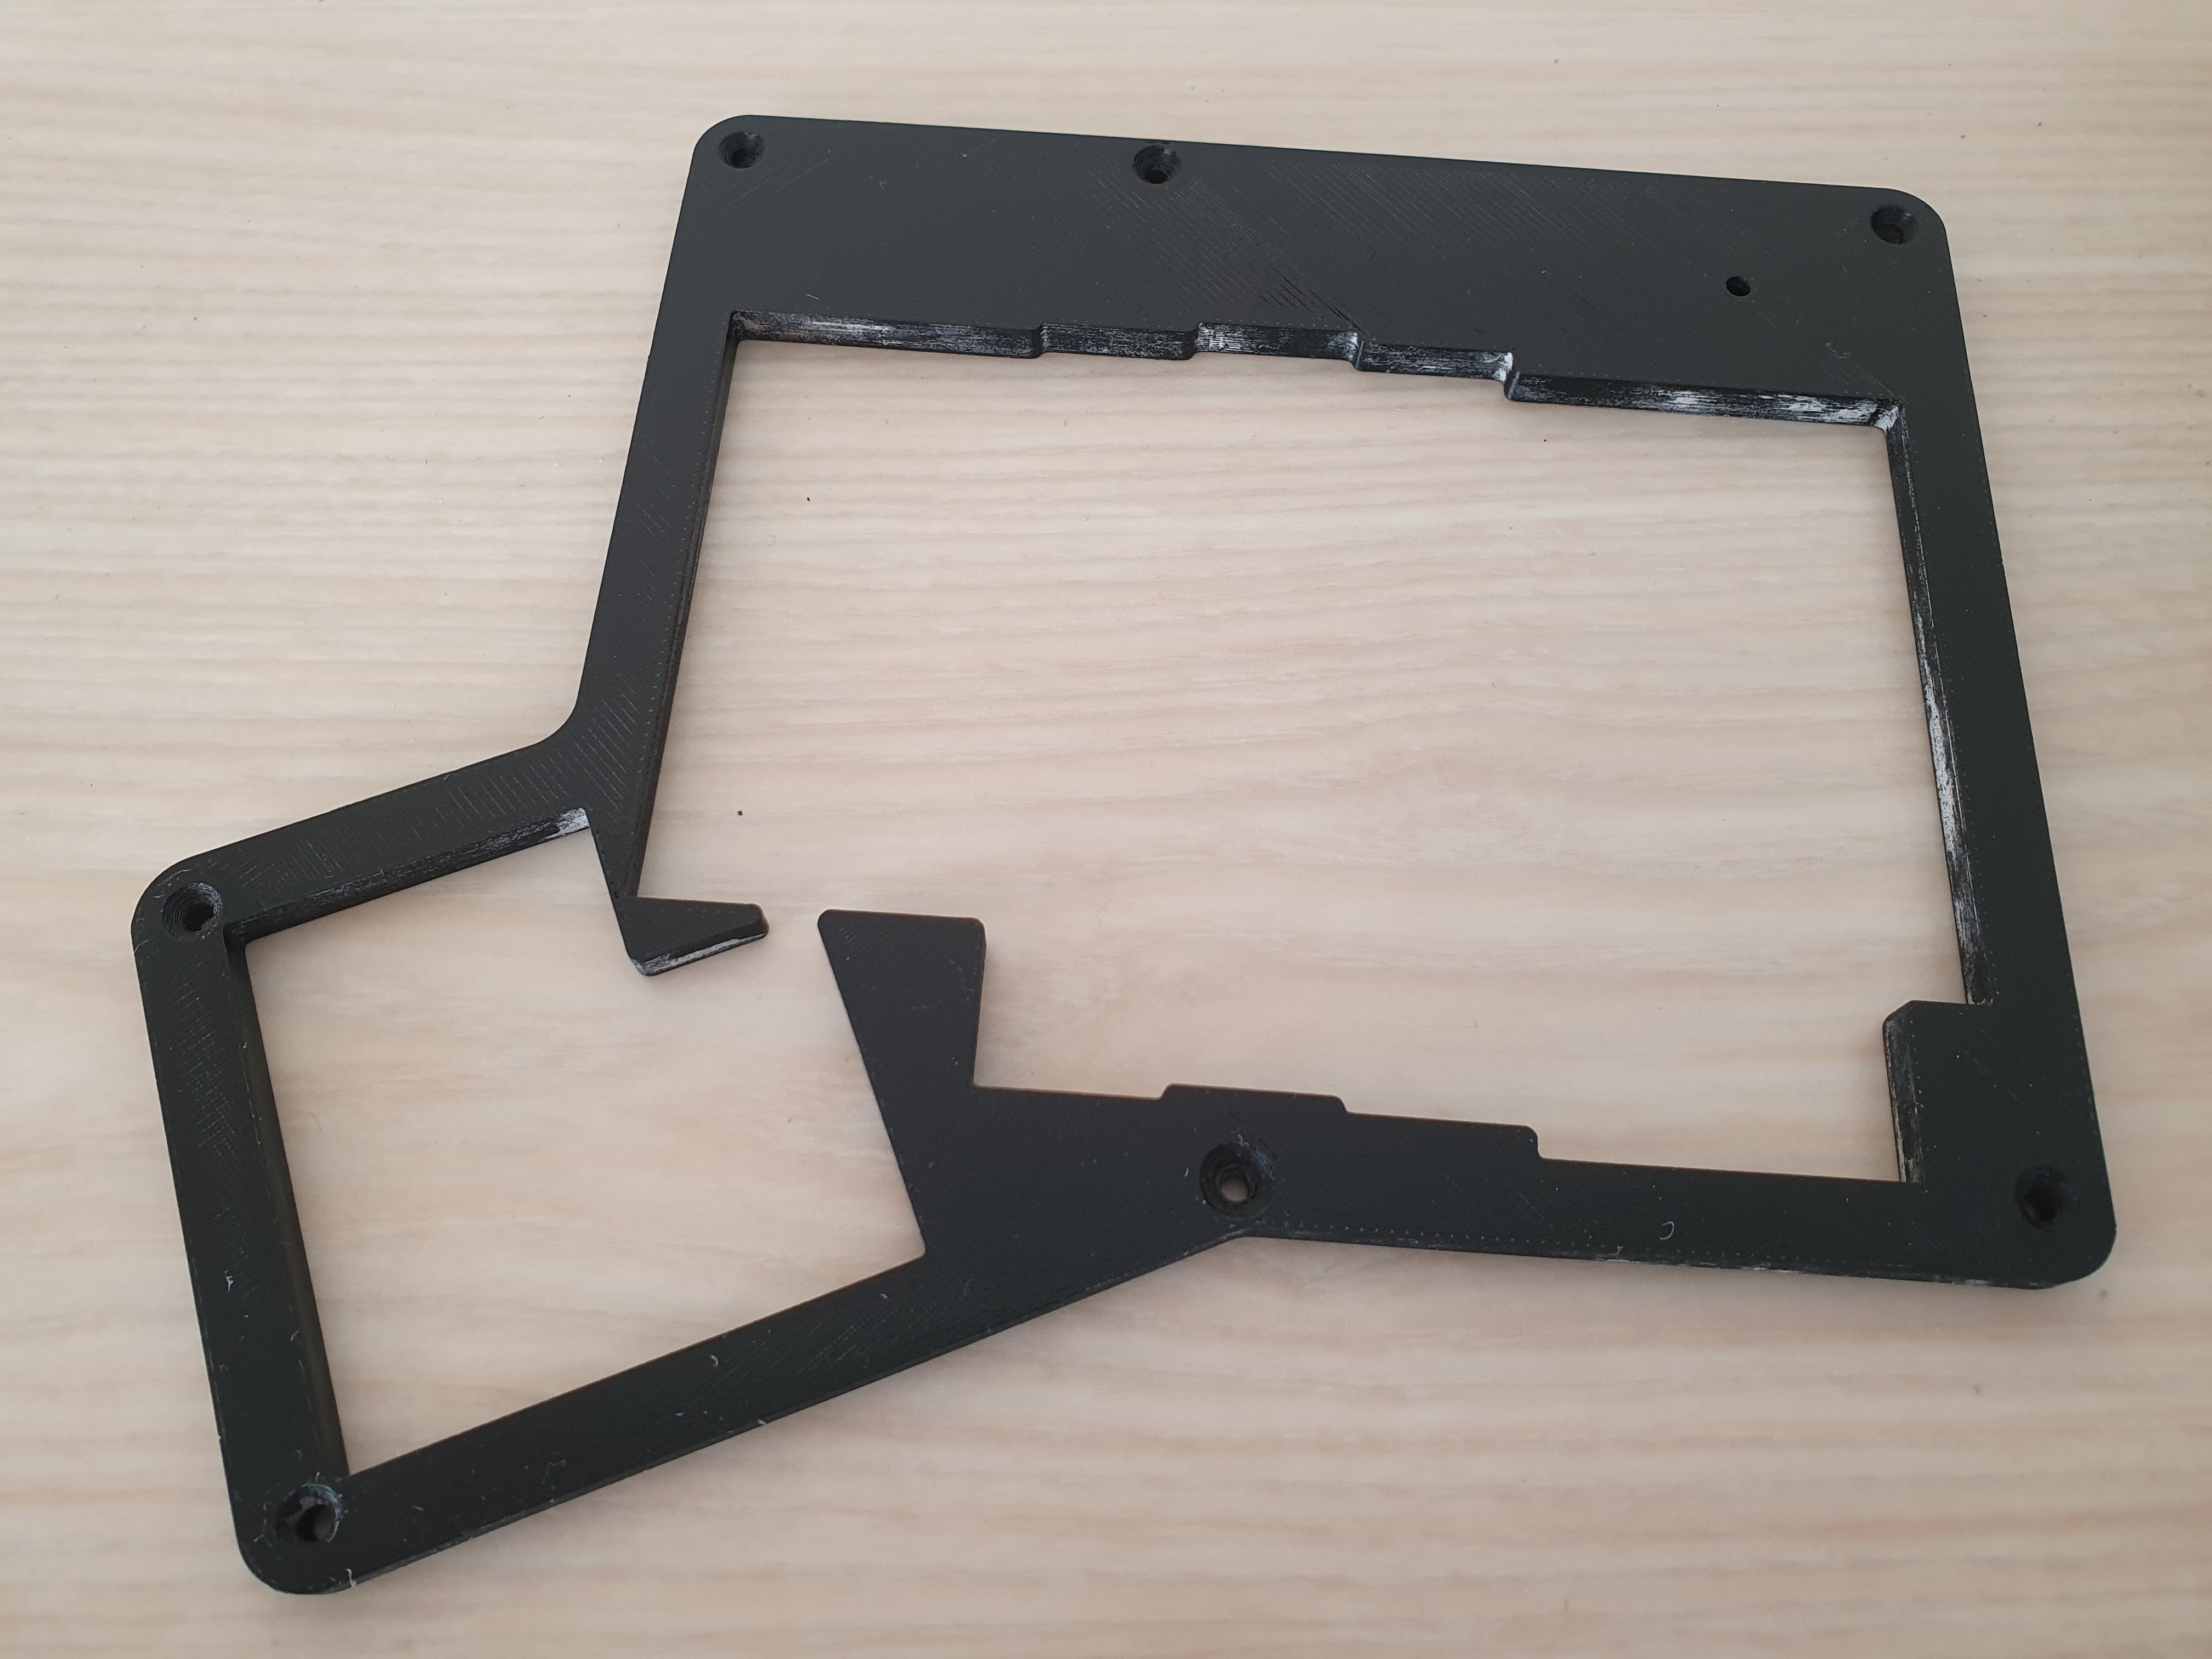
Case
At first my plan was to get the original layered-acrylic case manufactured, however I quickly discovered that with so many pieces (12), the price to get all of the acrylic laser cut was approaching $150AUD, which put it into wood case range, well out of my budget.
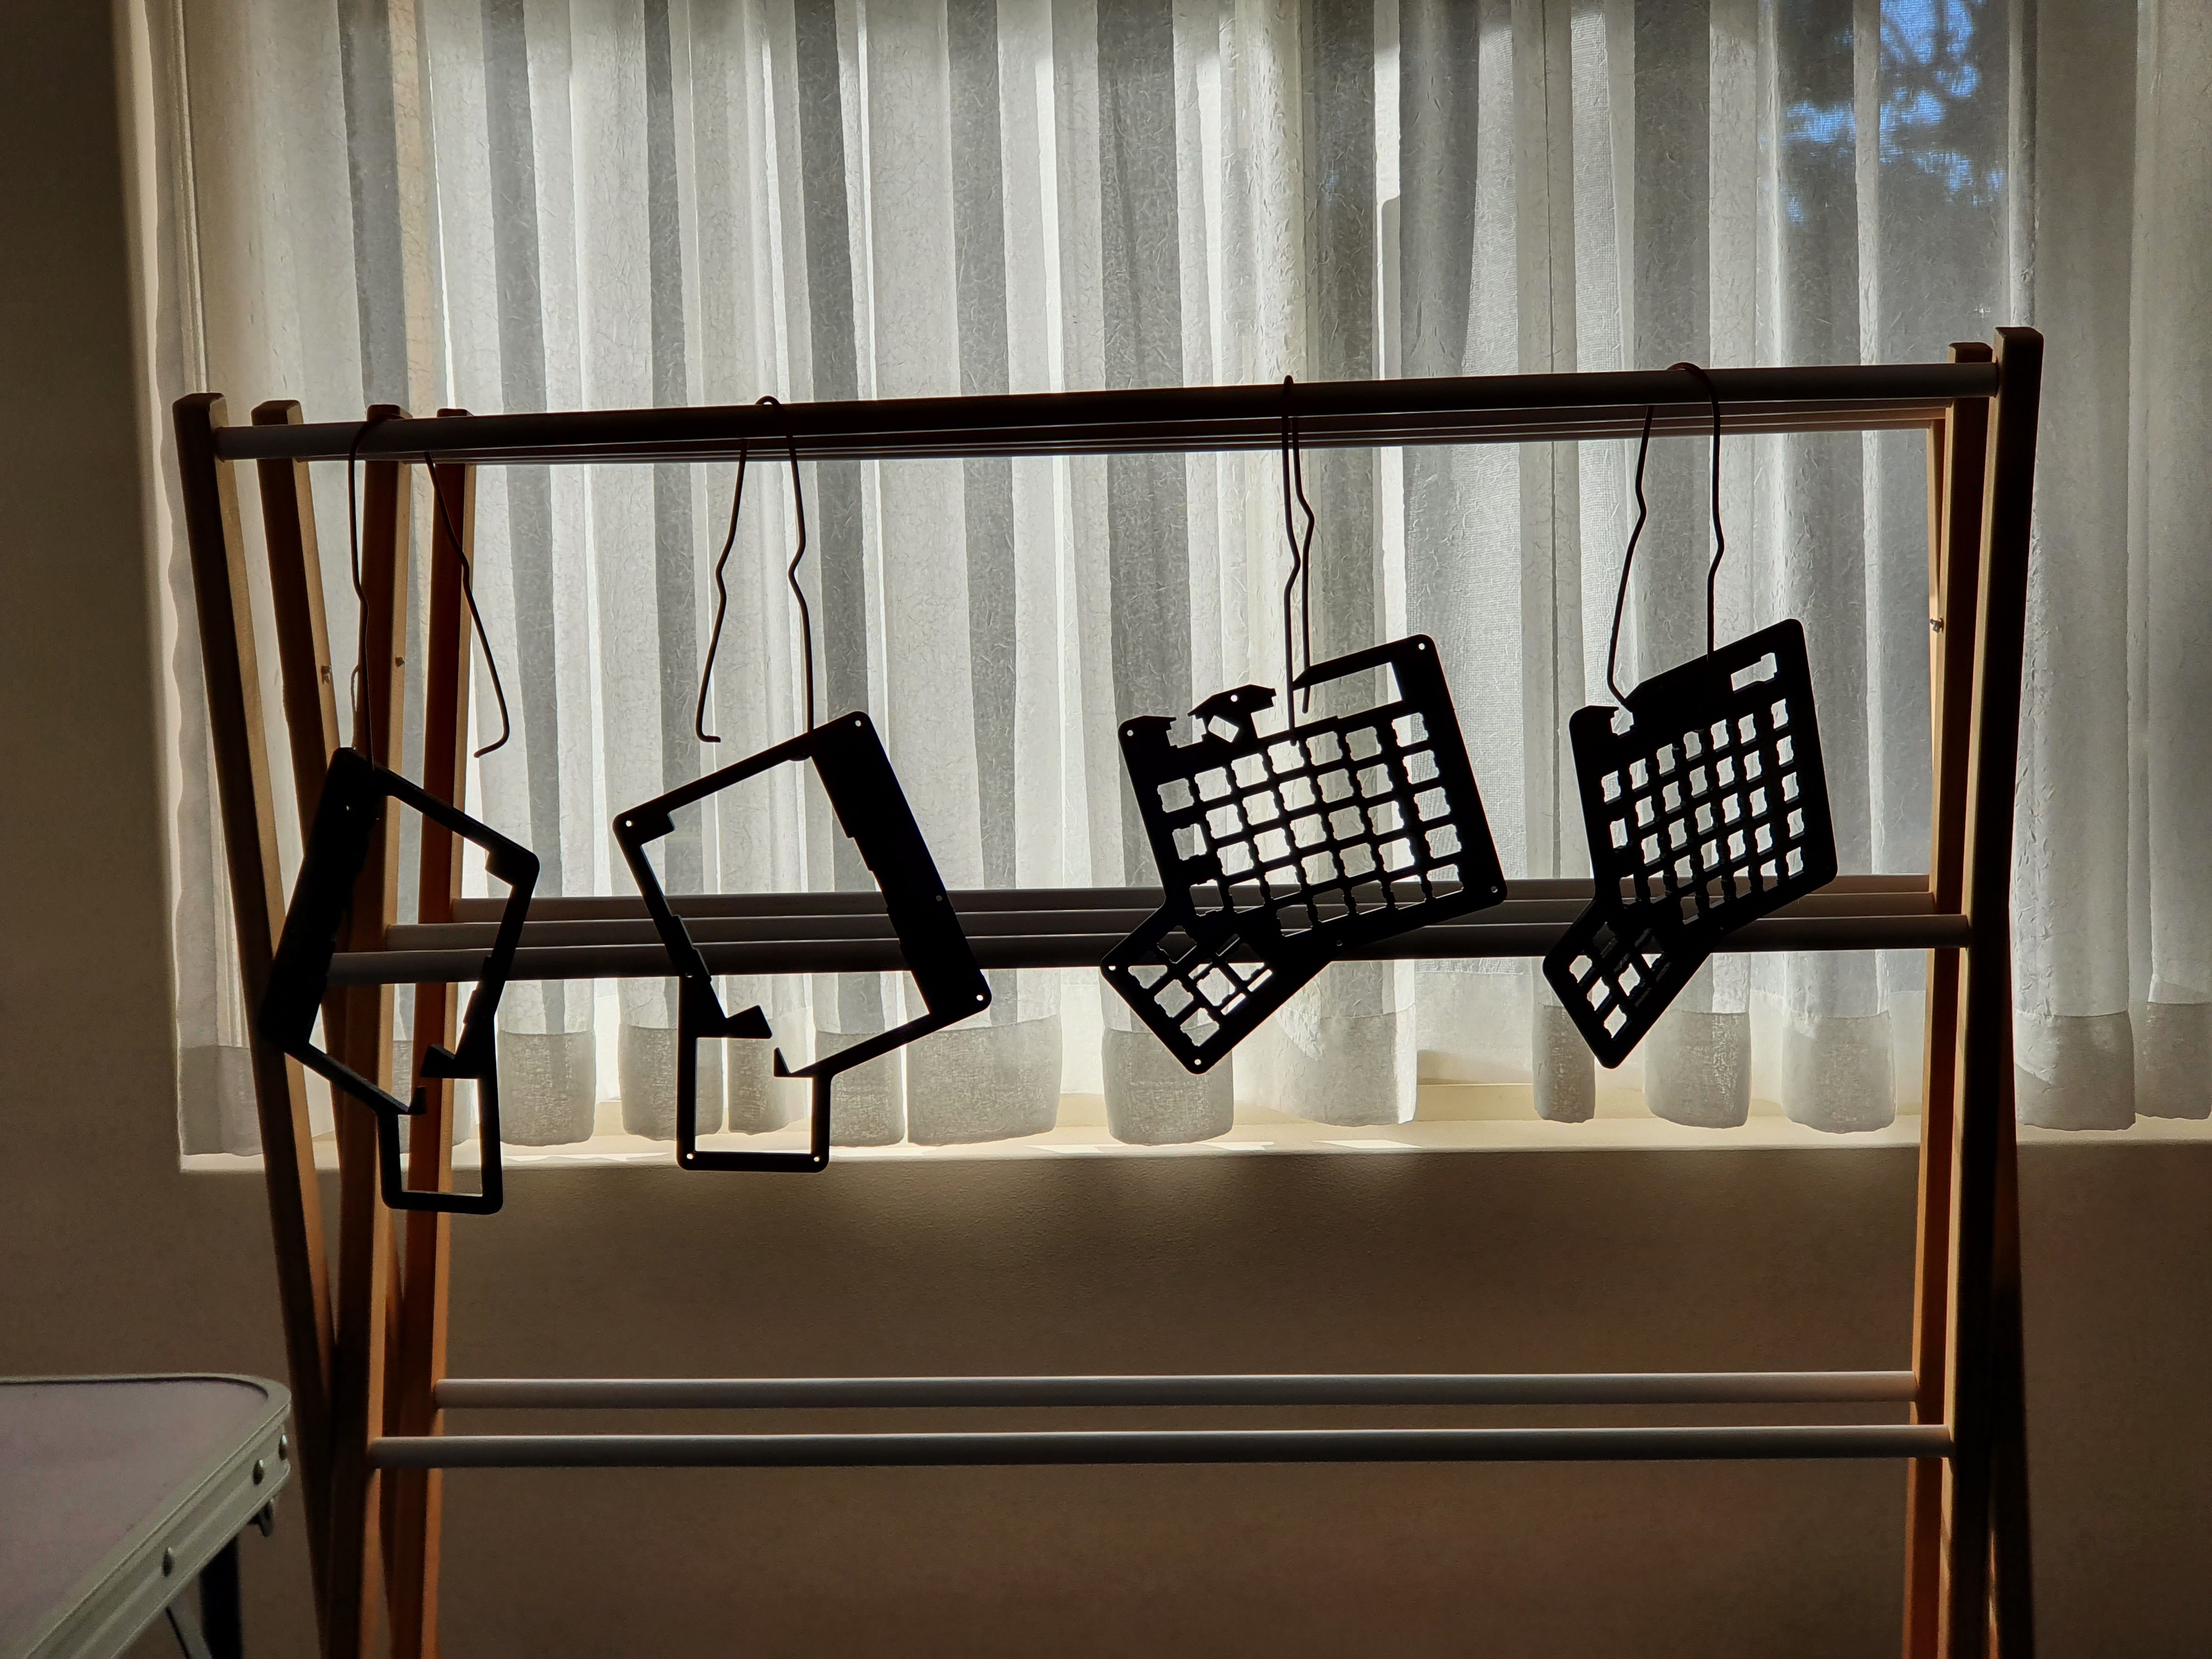
Instead, I opted to utilise my university’s free 3D printing service and a slightly modified case design more suited to FDM, reducing the total number of pieces from 12 to 6.
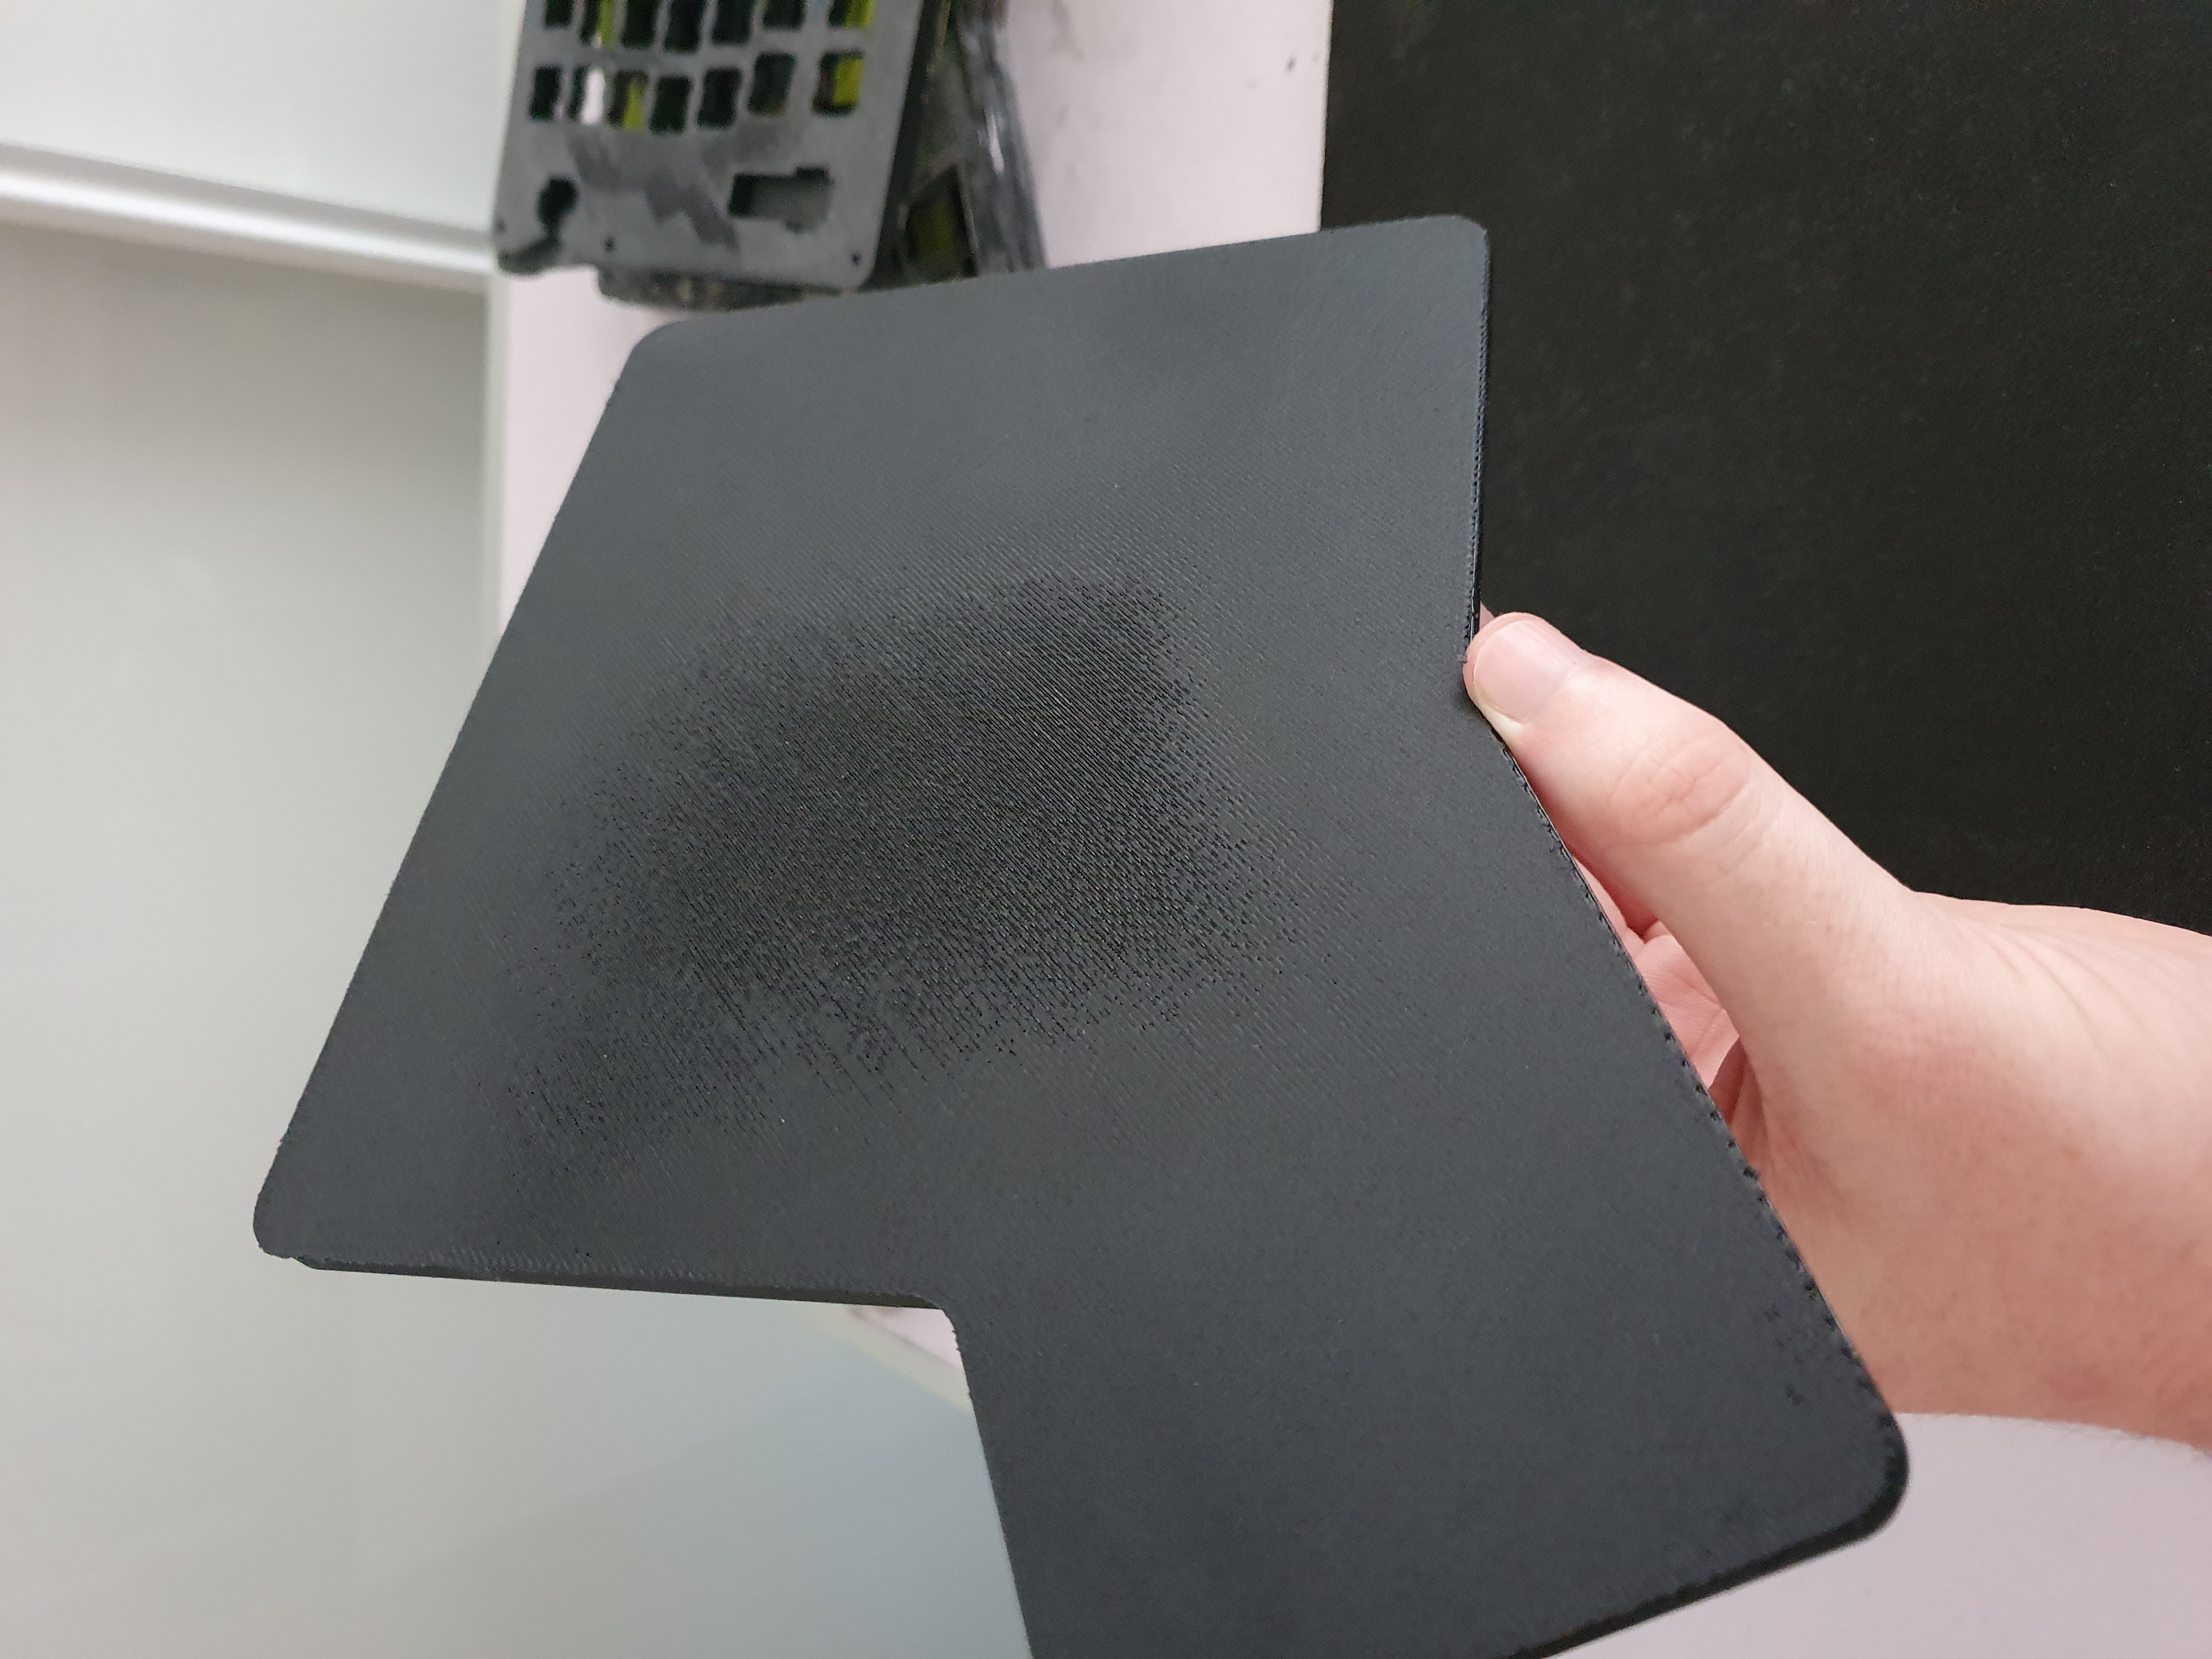
To finish the pieces I sanded from 120 grit down to 1200 grit. After this I found the pieces would dry with like a white scum on the surface, so I coated the pieces in some plastic-bonding satin-finish clear coat, which I think gave a very nice-to-touch finish.
It came out well with a bit of coercion. My only regret is not opting for 100% infill. When finishing the print (fixing up the print imperfections), I was limited by how much I could sand down the surfaces because I was sanding into the print infill, meaning no matter how much further I sanded there would always be new gaps opening in the surface, which left an imperfect finish on some surfaces. Thankfully the top surfaces came out the best so I’m not super disappointed.
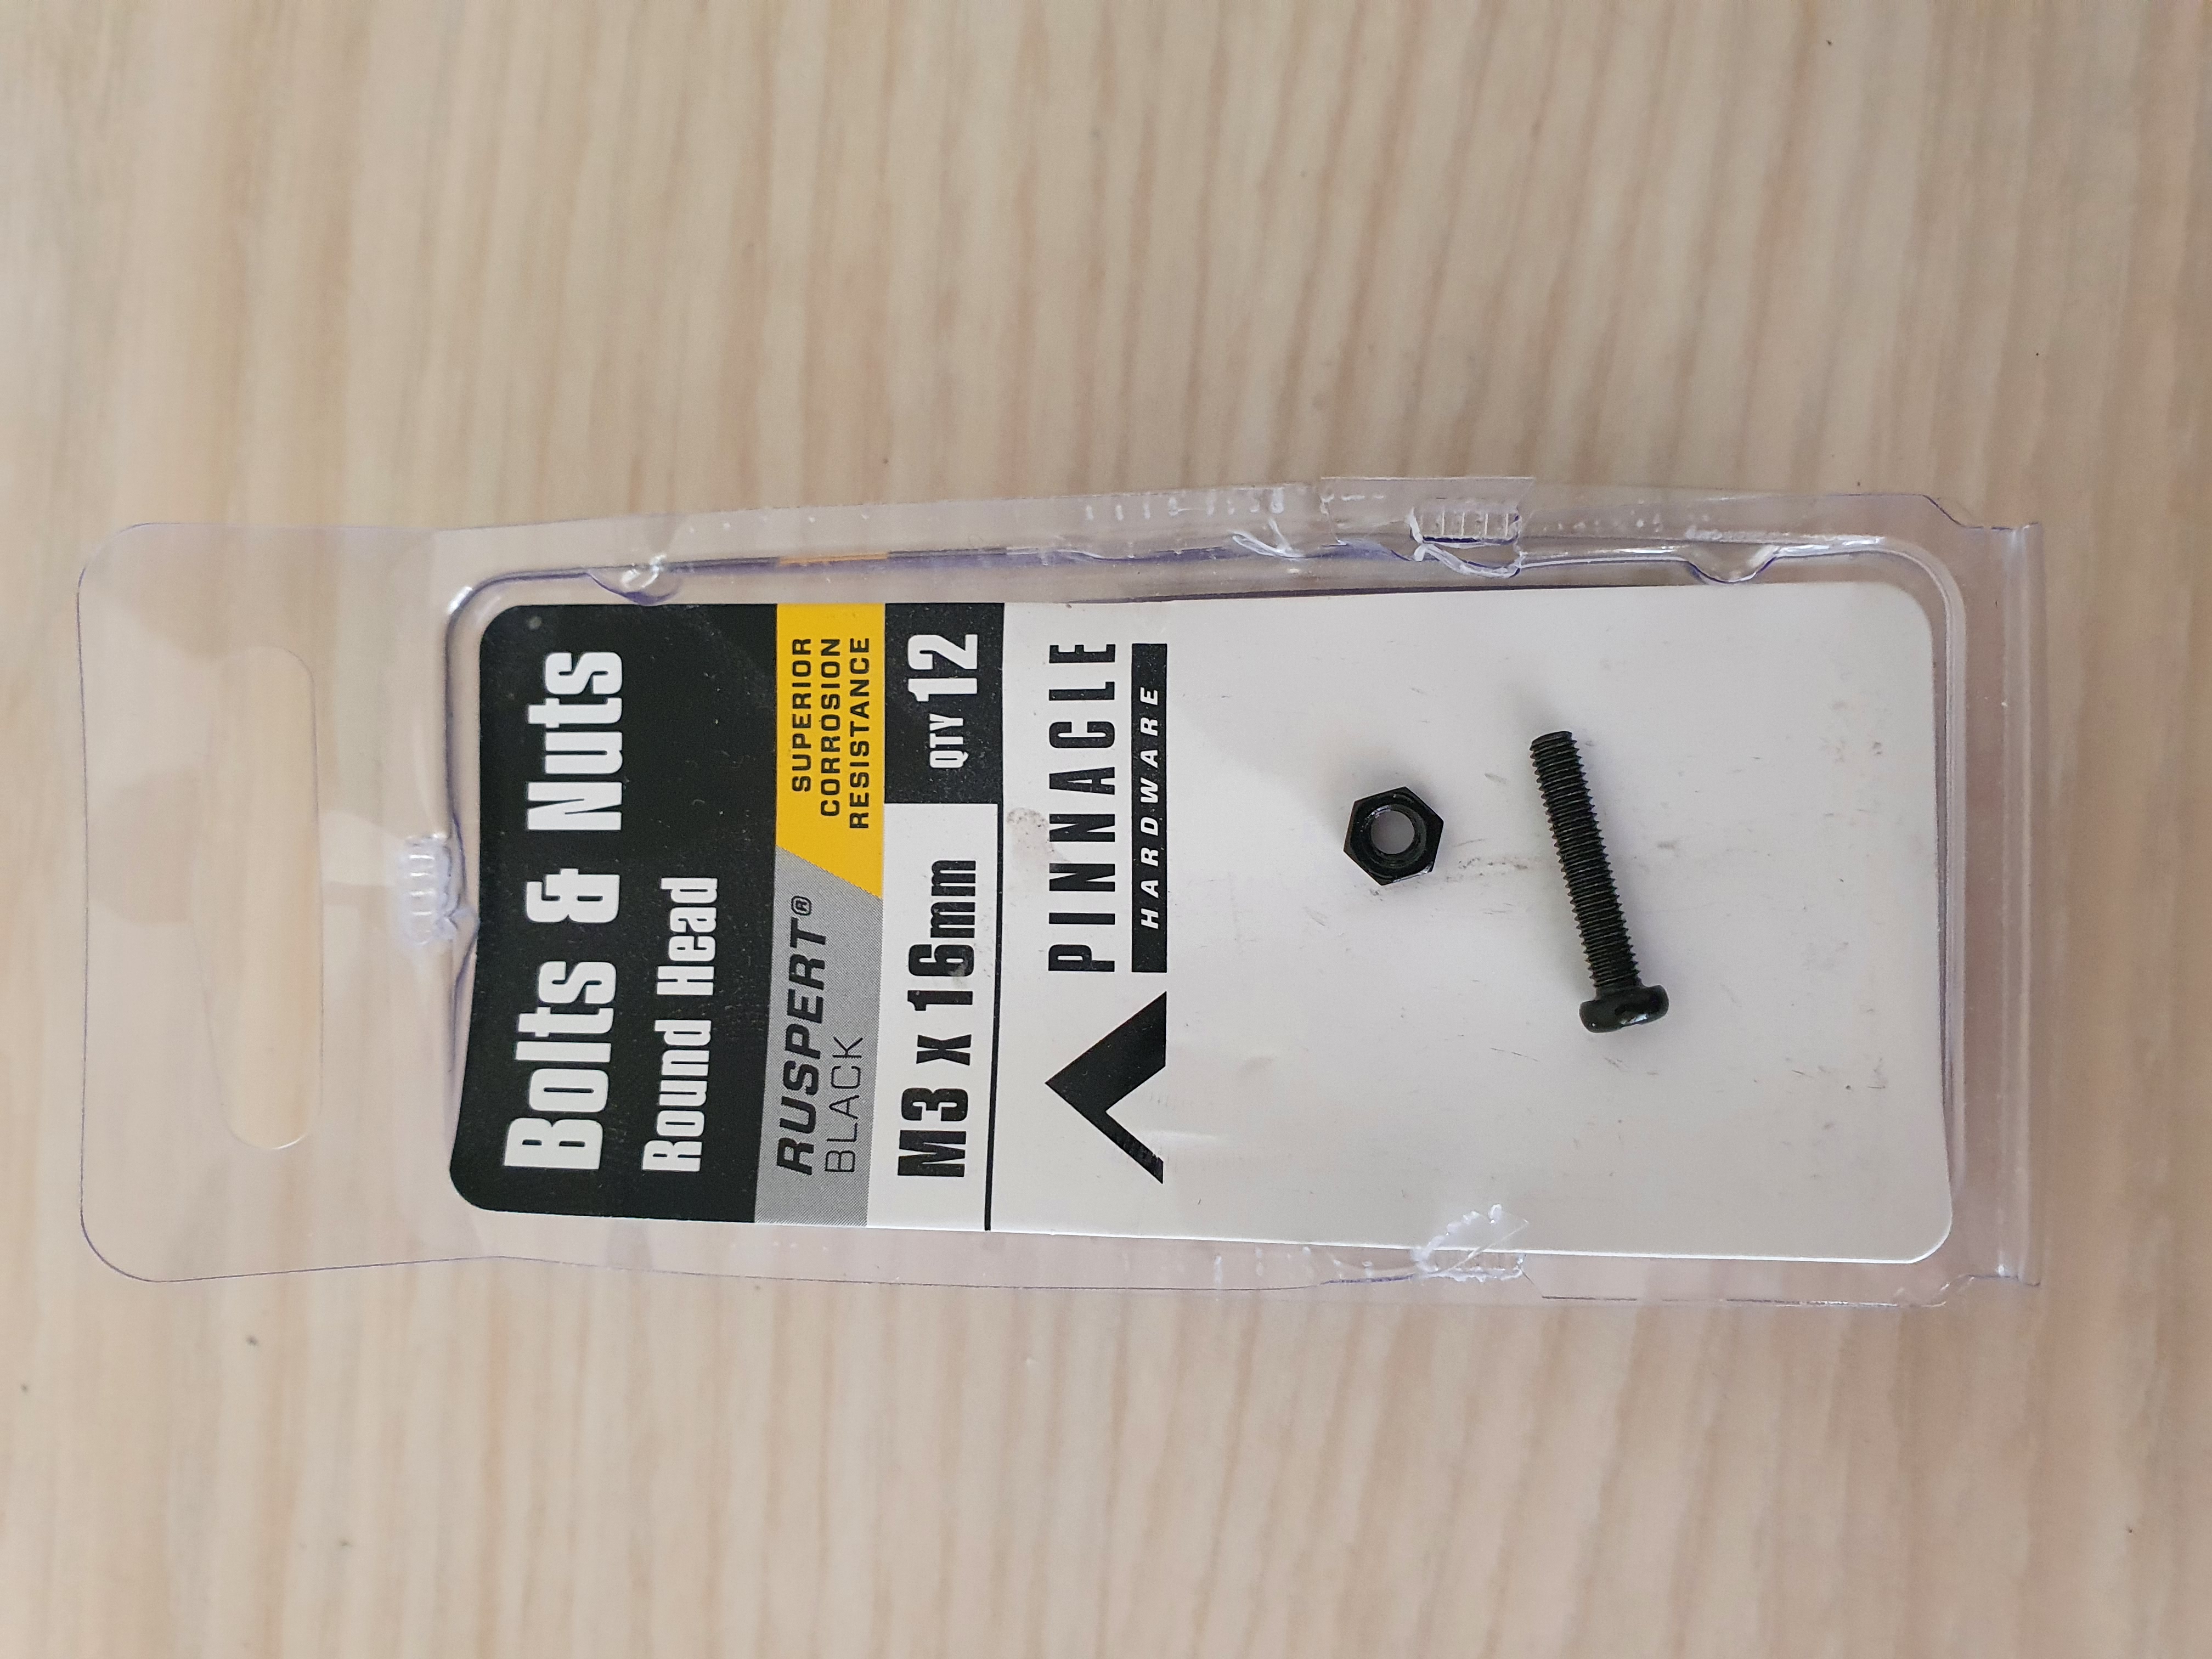
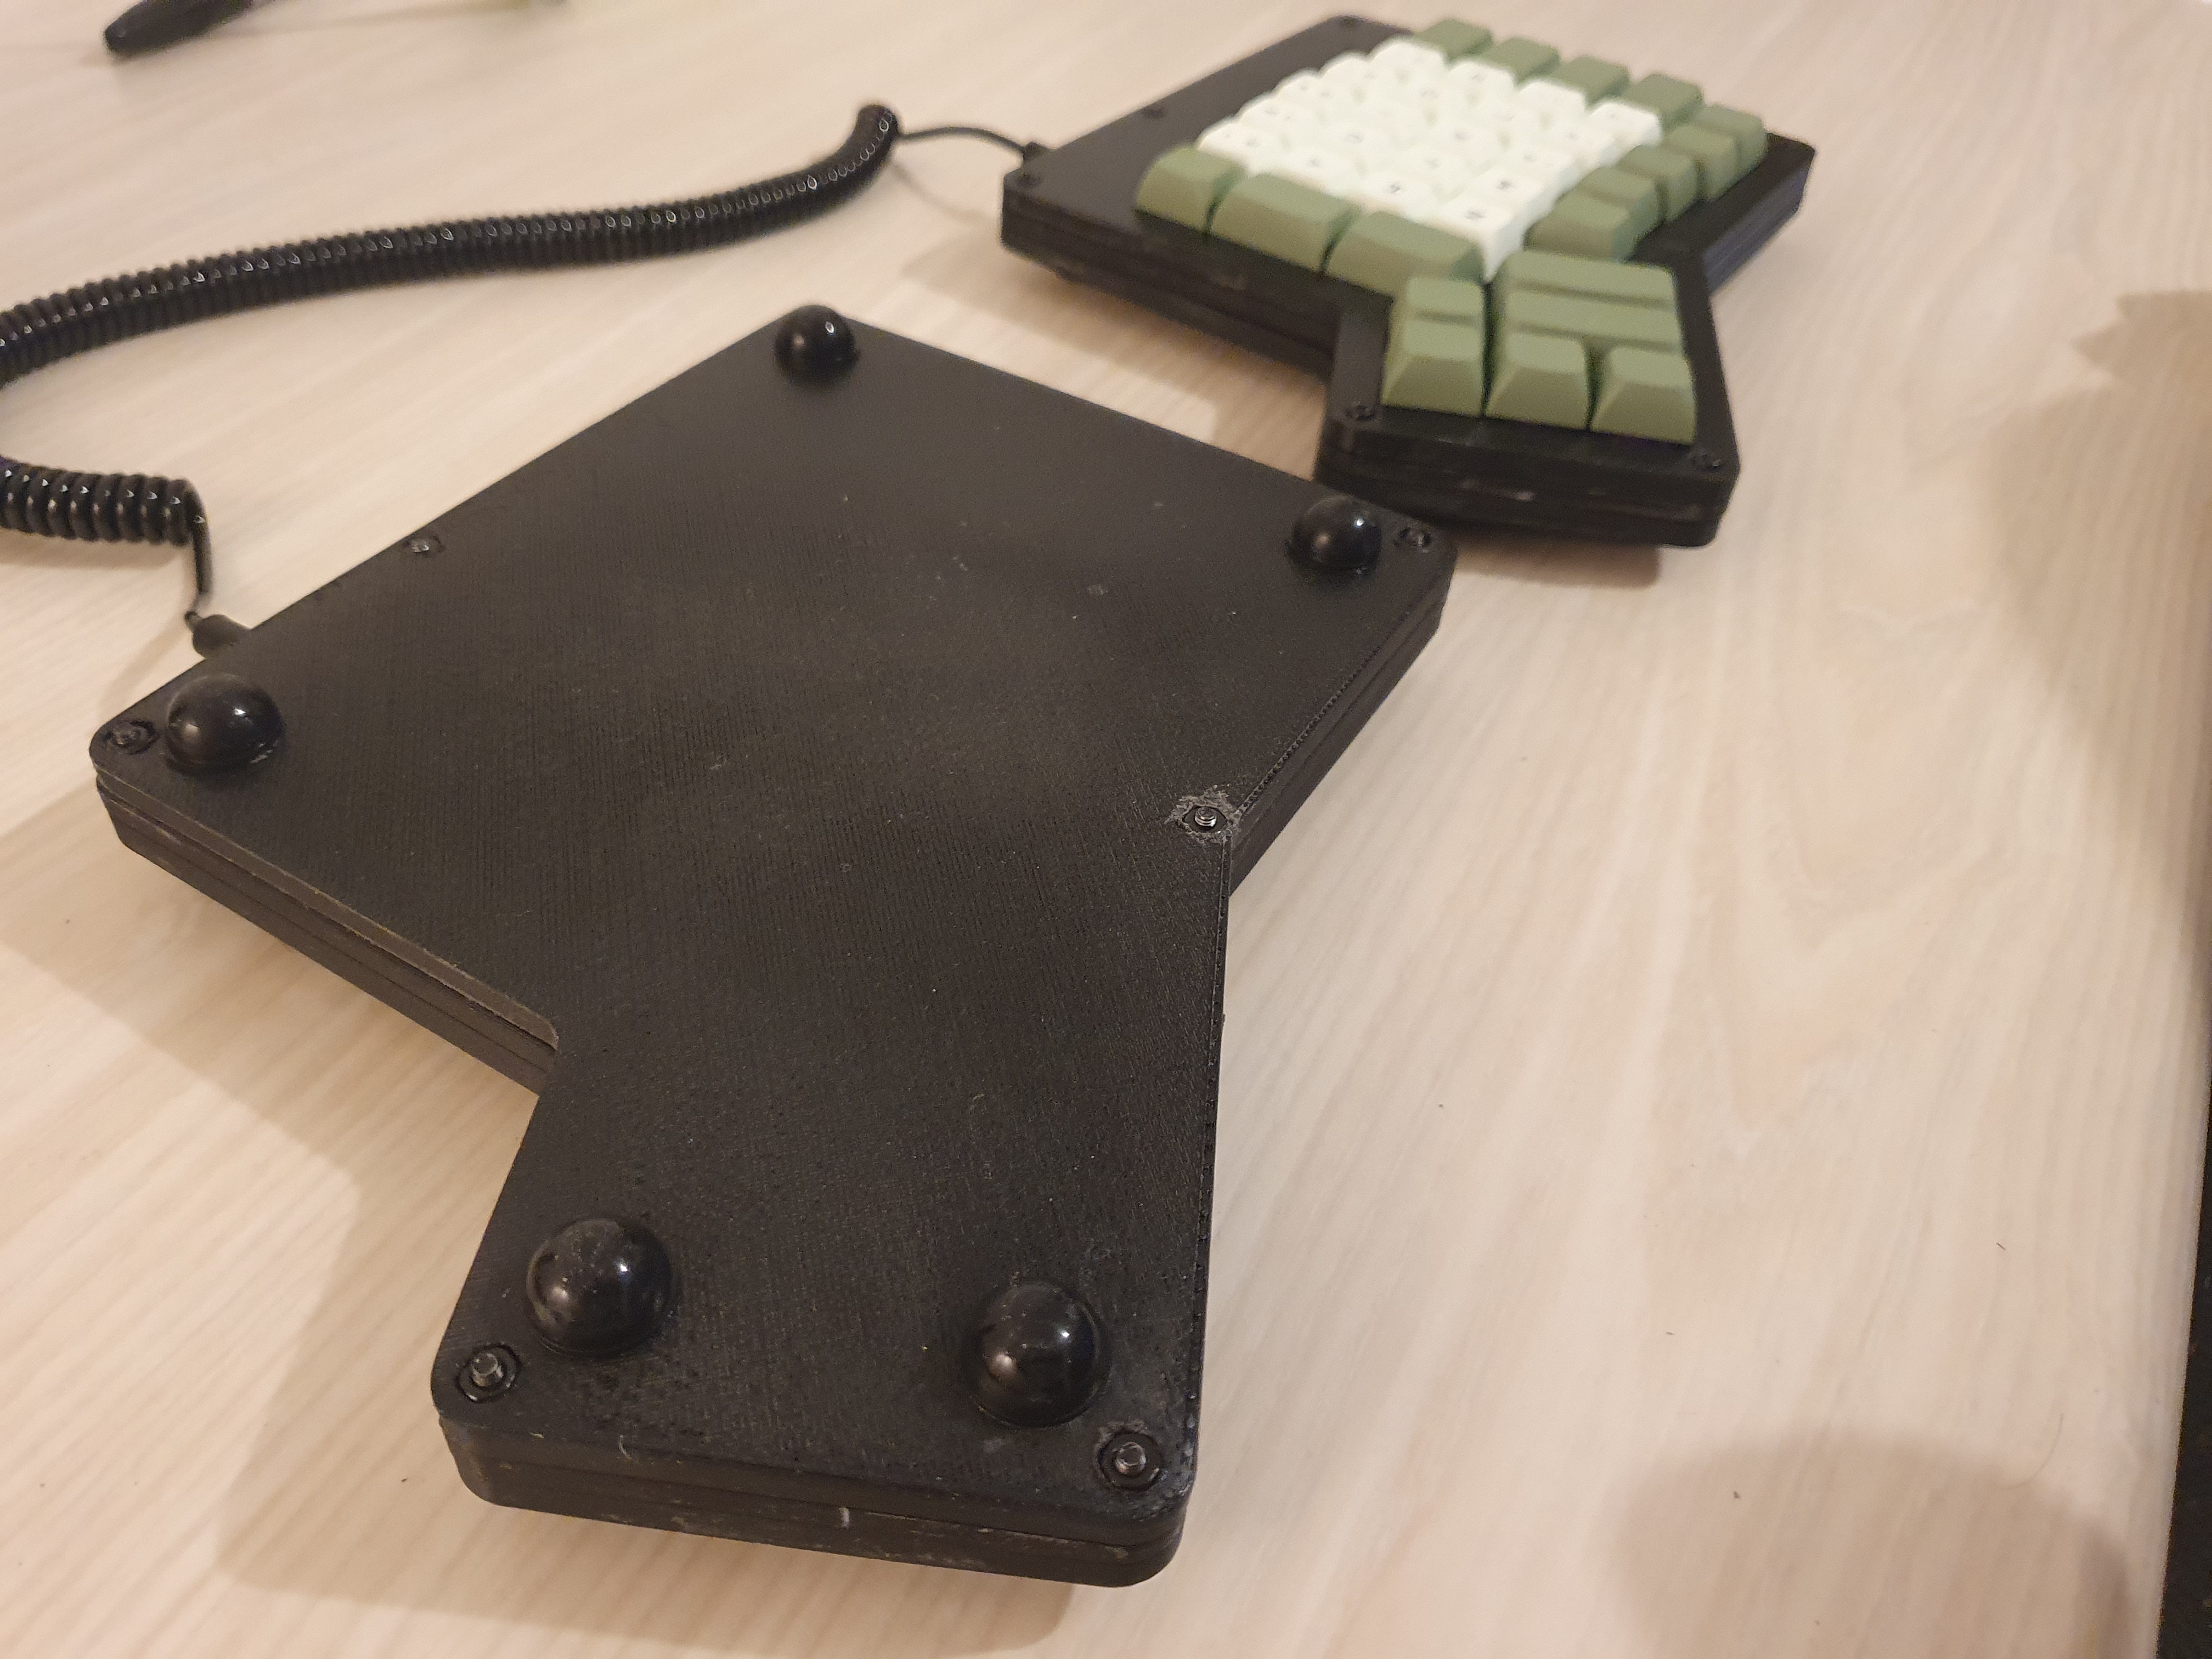
To secure the case together, the case designer intended for screws to thread into the plastic base. For a more secure fastening method I drilled some holes through the bases and melted some nuts into the back. This allowed me to torque down on the case without fear of stripping some plastic threads.
To take advantage of this compression capability, I used some thin foam between the plate and PCB, as well as on the base, to help dampen and disperse vibrations evenly throughout the case, which I think helped give the keys a tolerable sound and feel.
Finally, to give the case some grip I added some adhesive rubber furniture feet to the base. I bought a bunch and determined that these hit the Goldilocks zone of firmness, grip and height, although it does make the keyboard pretty uncomfortable for me to use without a tall wristrest.
Firmware
Initially, I used QMK but found it to be quite involved. After some further research I discovered that the open source Ergodox is actually electrically compatible with the original Ergodox-EZ from ZSA, so I can actually take advantage of their very nice web-based configurator. It’s very convenient since there’s no software to install, and it’s provides a polished user experience. Maybe the only caveat is that it only works in Chrome, although I can excuse it as I believe it’s doing some pretty cutting-edge/non-standardized stuff to get direct access to a USB device from the browser. I’d even say it’s better than anything I’ve used in the past from Razer, Corsair etc.
Usage
I’ve rapidly gone through layout variations in the few days since I assembled the keyboard. I’m currently at v21.0.
My first day was rough, but I’ve been picking up pace surprisingly quickly, although with more errors than I would like.
| Days using keyboard | Best typing speed (wpm) |
|---|---|
| Day 1 | 13 |
| Day 2 | 28 |
| Day 3 | 47 |
| Day 4 | 59 |
| Day 5 | 53 |
For context, on a regular QWERTY keyboard I typically type at 80-100wpm.
The factors that I find make this switch the most jarring are the ortholinear layout and locations of special keys. I didn’t like having Backspace or Enter on my thumbs because I misclicked them too frequently, but even after I relinquished them to my right index finger I still find myself accidentally pressing them (eg. pressing Enter when going to press H)
Surprisingly, I feel most comfortable with the keys perpendicular to me rather than slightly angled out, which I imagined would be more natural. I suspect it’s because it’s what’s most familiar to me.
I’m definitely in need of some wrist rests. With some tall rubber feet installed, the Ergodox towers over my wrists which makes extended typing sessions uncomfortable.
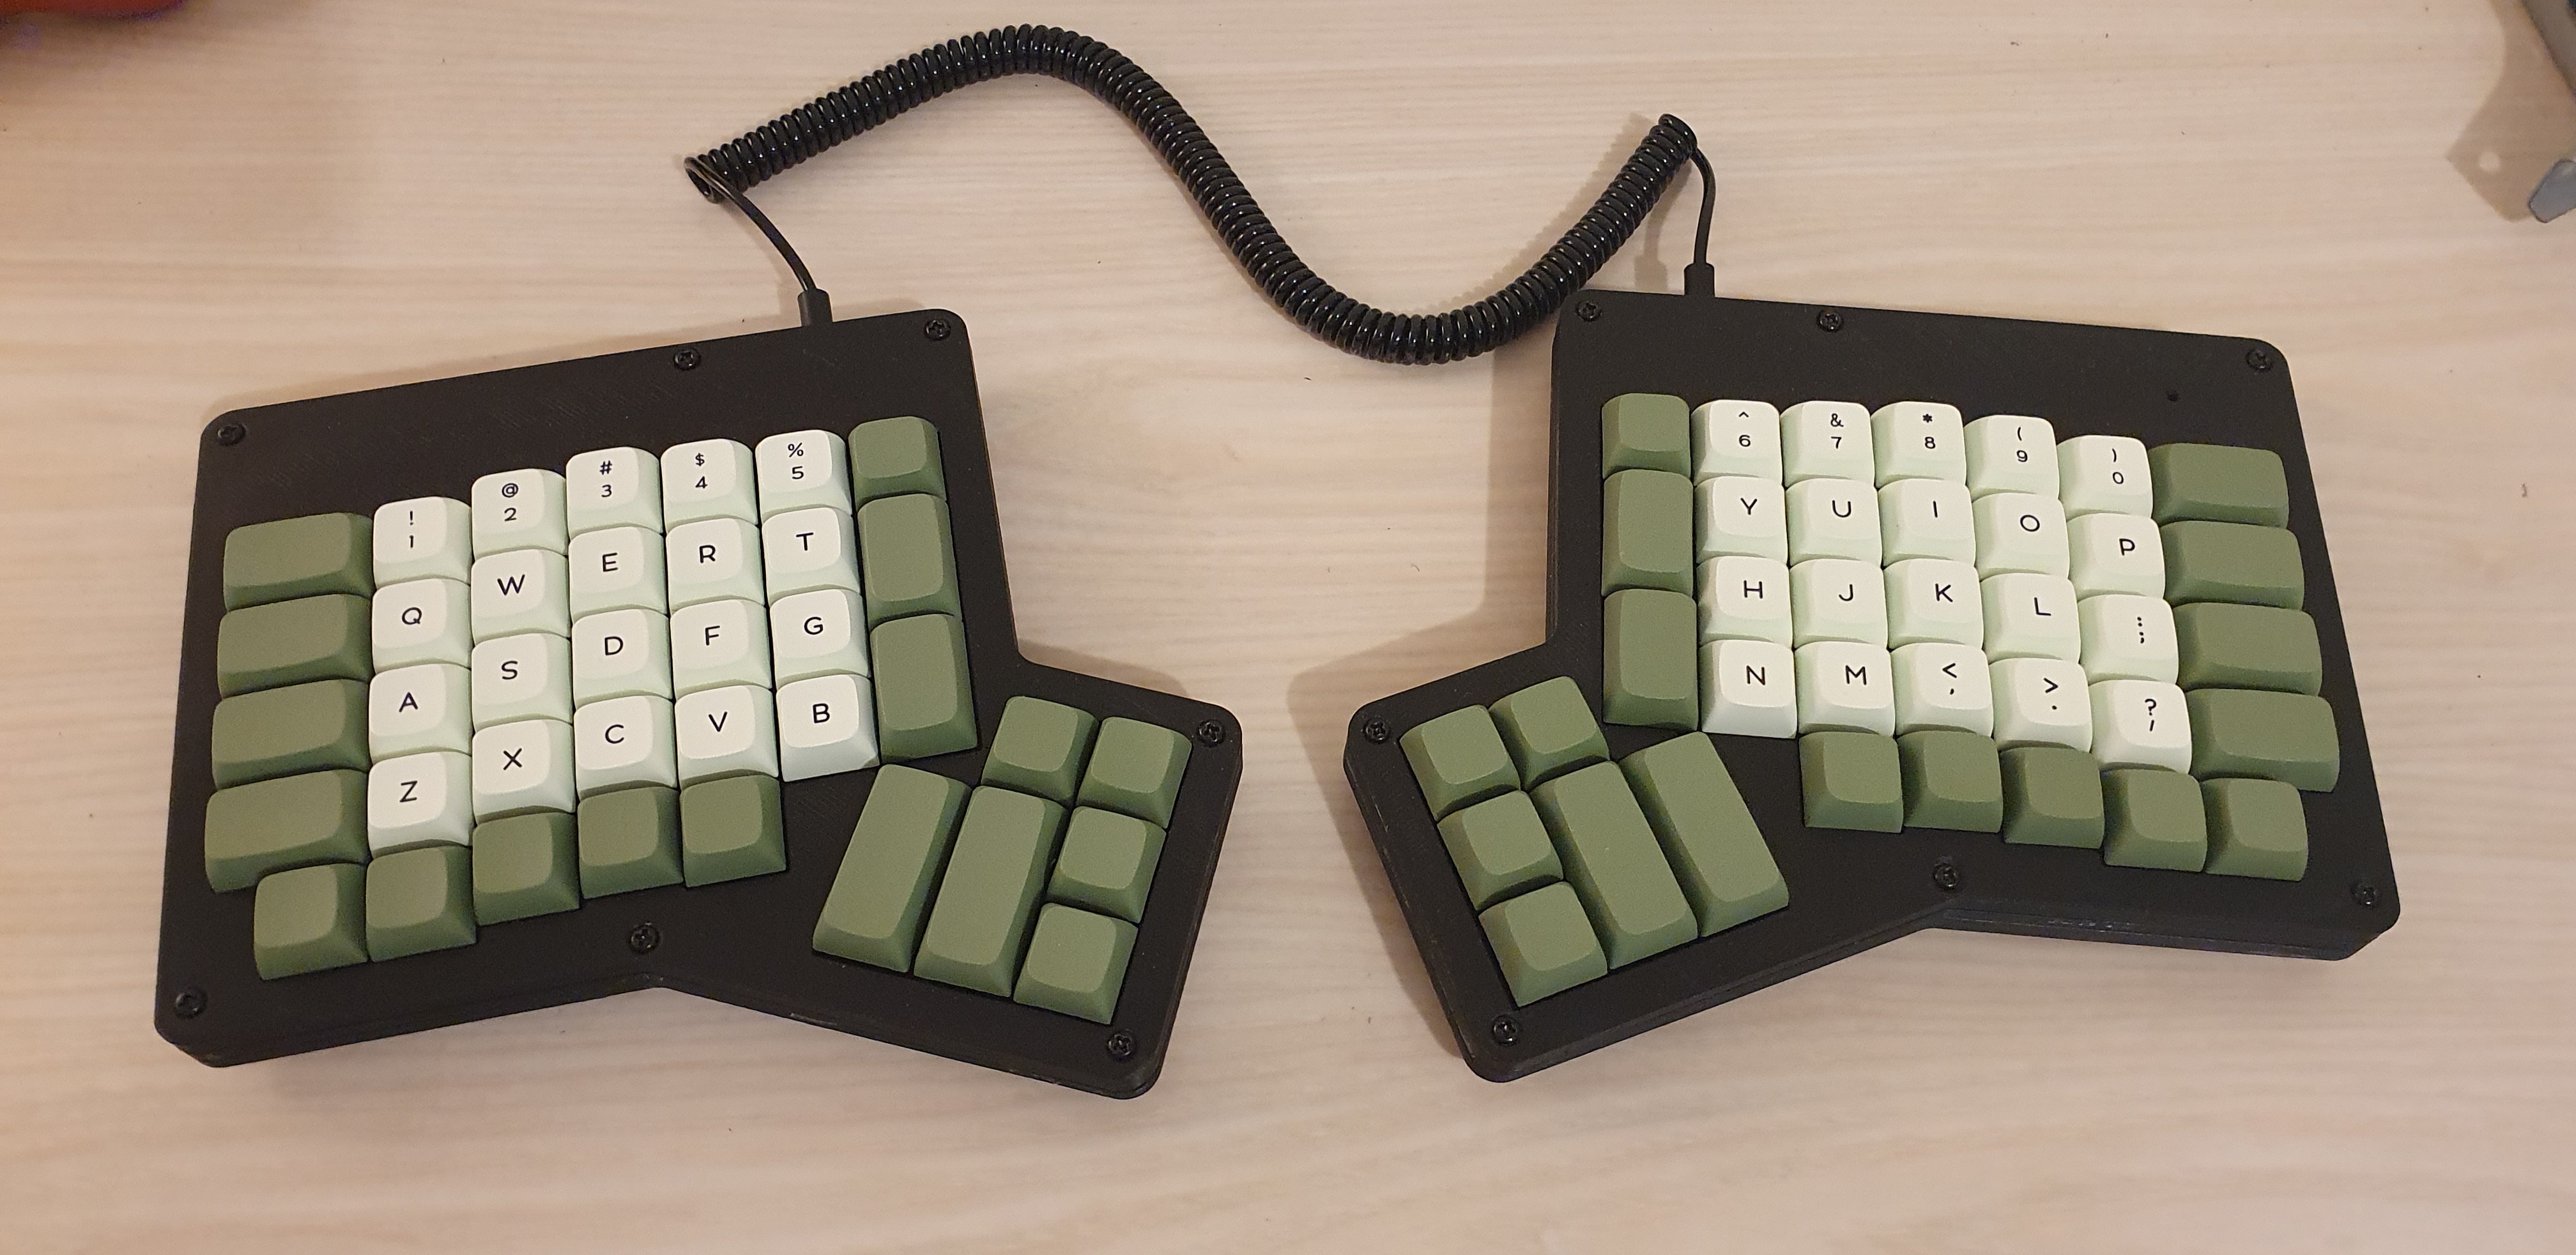
Conclusion
Aaand here’s the finished product!
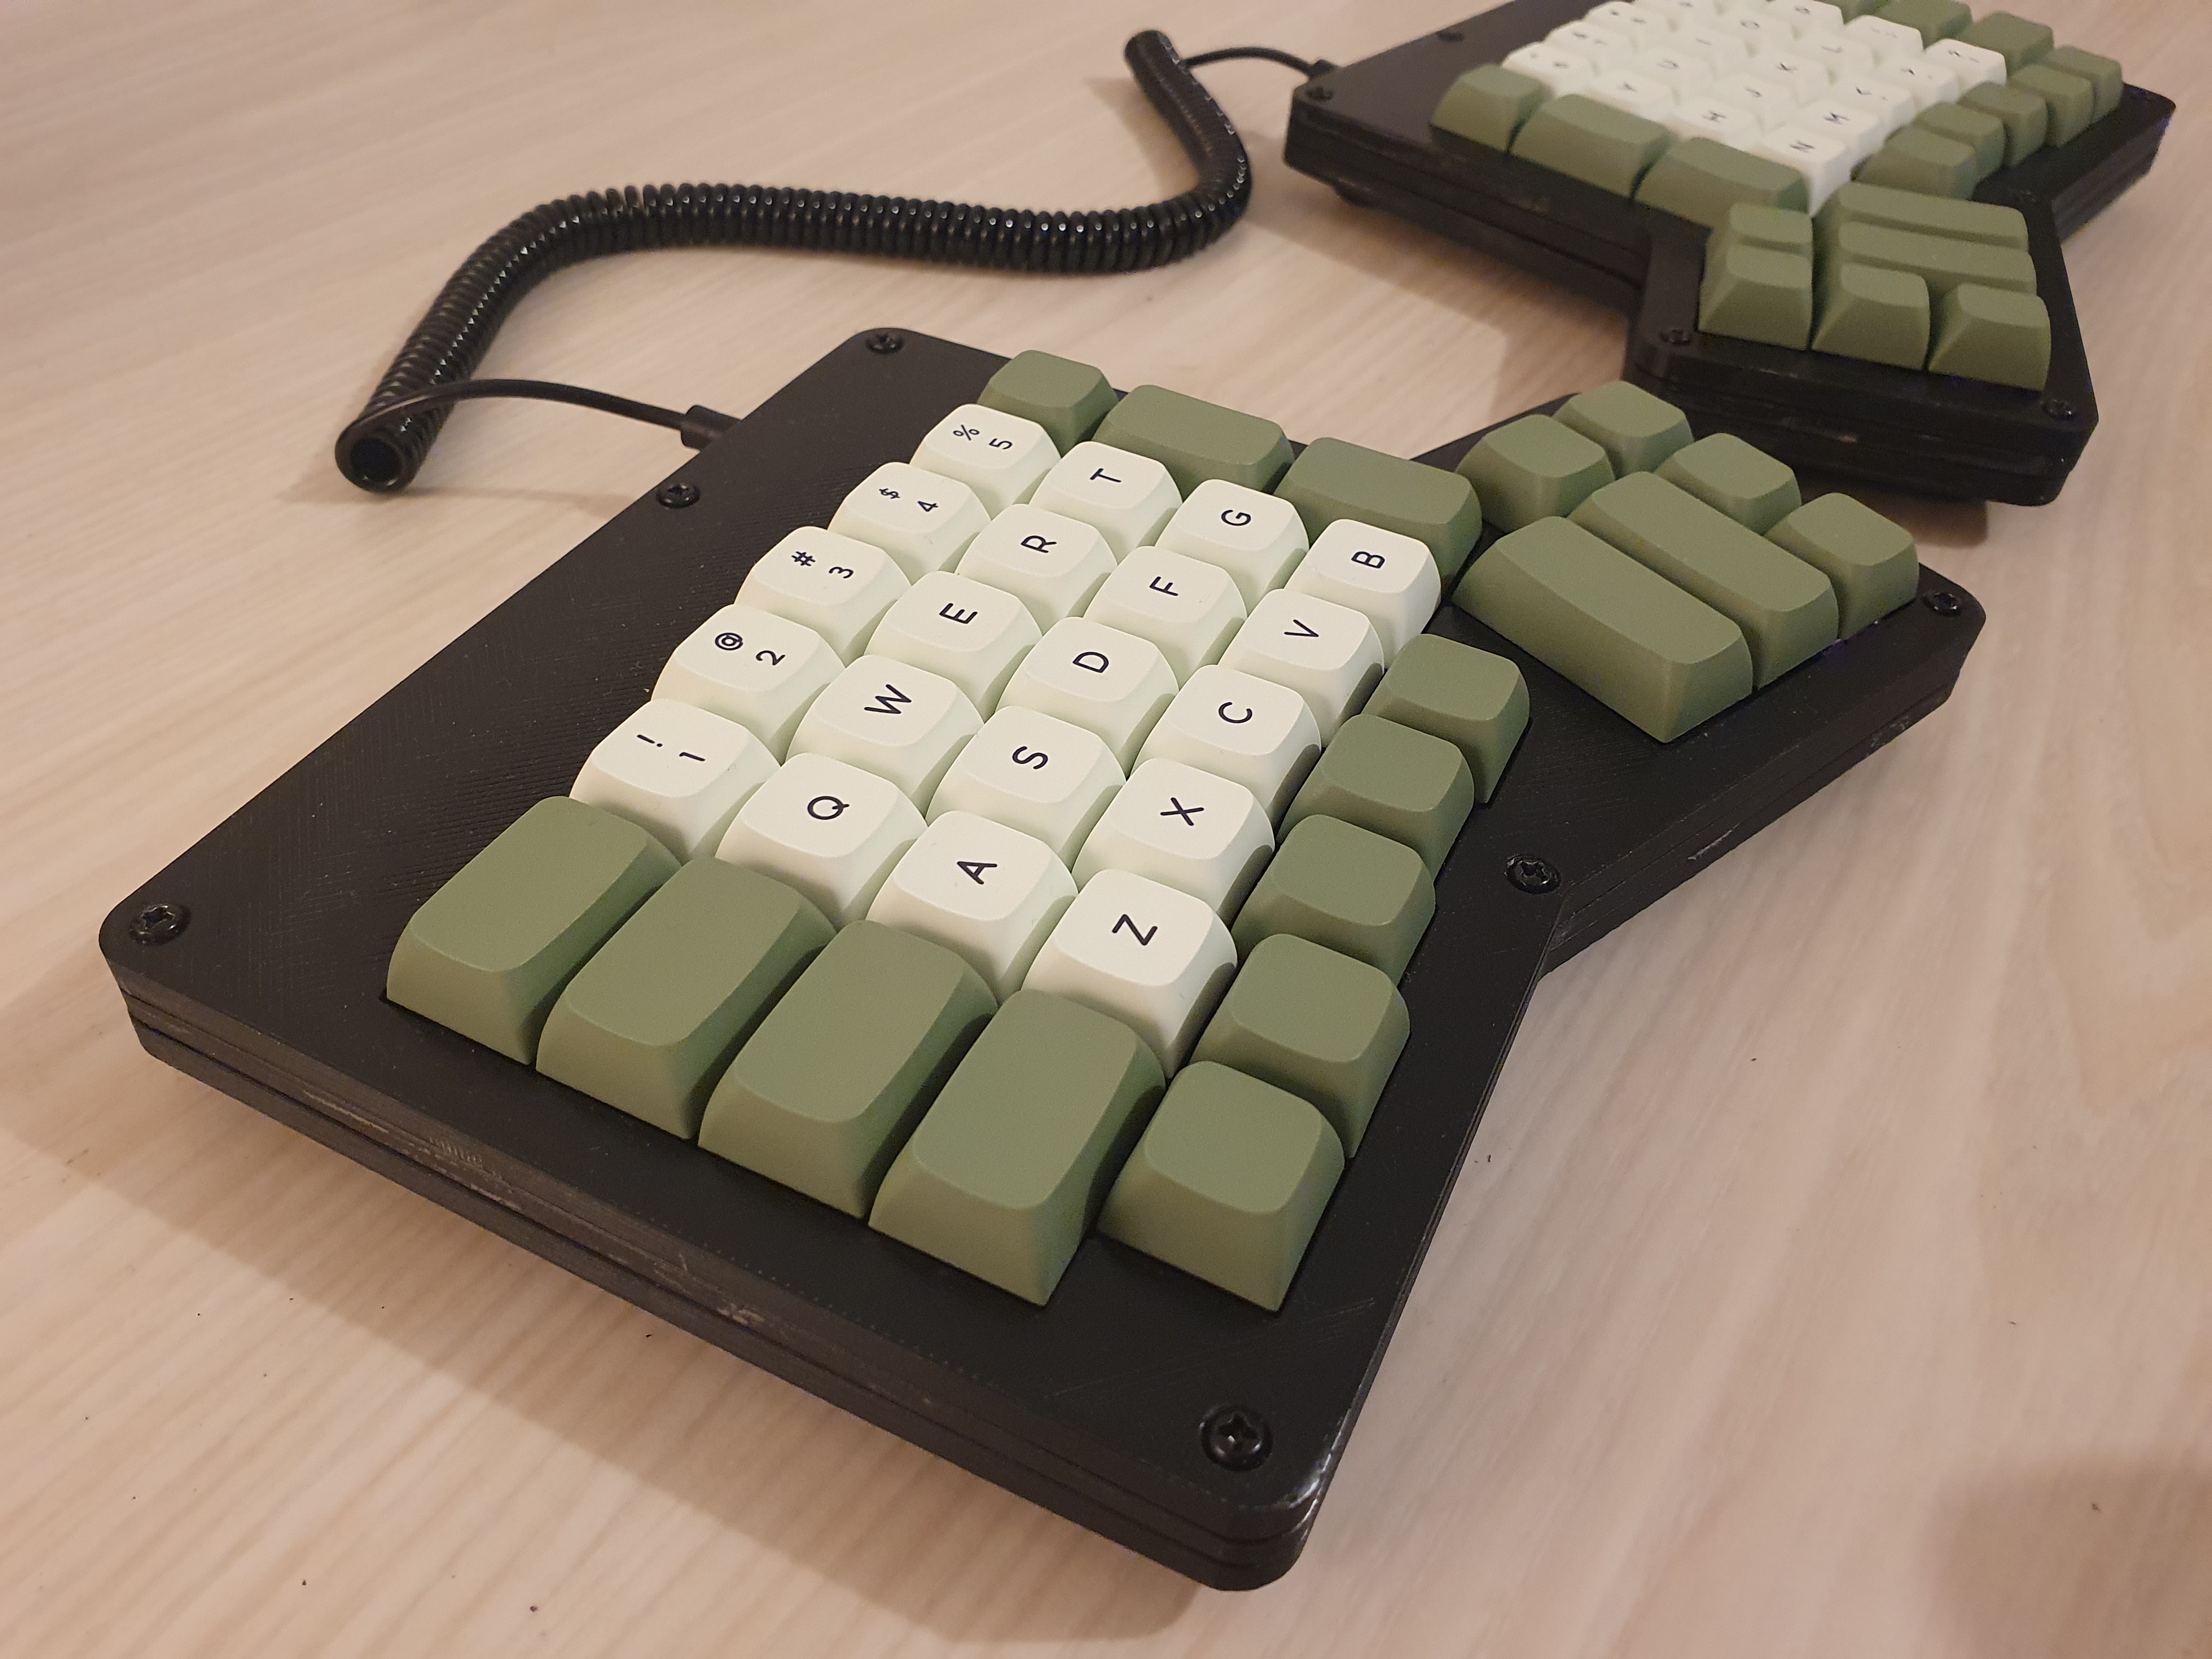
This was a really fun project for me. Production was definietely drawn out due to motivation (sanding is exhausting) but made for great anticipation of completion. I think the end product offers reasonable value in comparison to commercial DIY or pre-options, but it’s not without it’s flaws.
I’d recommend this project to others if you are interested in trying the layout and don’t want to fork out ~$500AUD for a Moonlander. Be warned, there is still a significant learning curve ahead, which I found unexpected because I haven’t deviated from QWERTY. I still find myself returning to my more traditional GMMK Pro, which by contrast gives me joy to type on without any muscle-memory investment.